
Check out Interactive Visual Stories to gain hands-on experience with the SSE product features. Click here.

Skyhigh Security

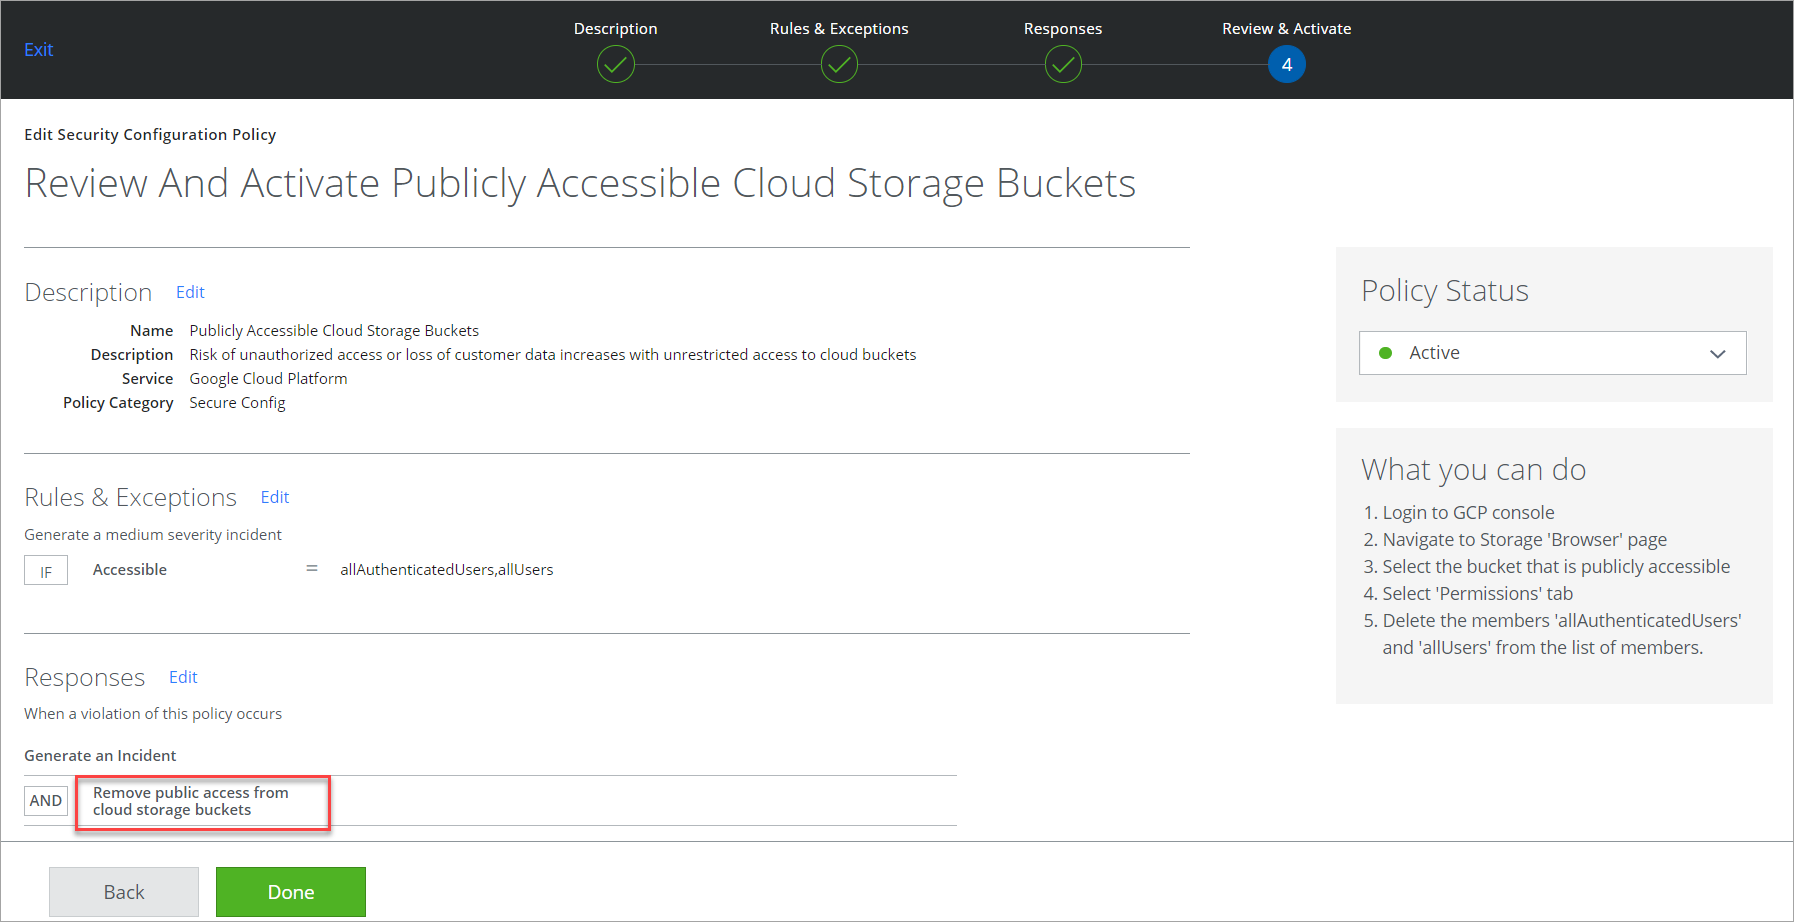
Auto-Remediate GCP Incidents

Auto-remediation is a triggered response to a policy violation. It is an automated approach to security, applying the appropriate response to a vulnerability in your Google Cloud Platform (GCP) deployment. It ensures a high level of functionality by continuously monitoring risks. And it automatically  policy violation issues and reduces the window of malicious opportunity.

Supported Remediation Actions

These are the supported remediation actions for GCP. 

Remediation Actions

Policy Templates

Permissions Required
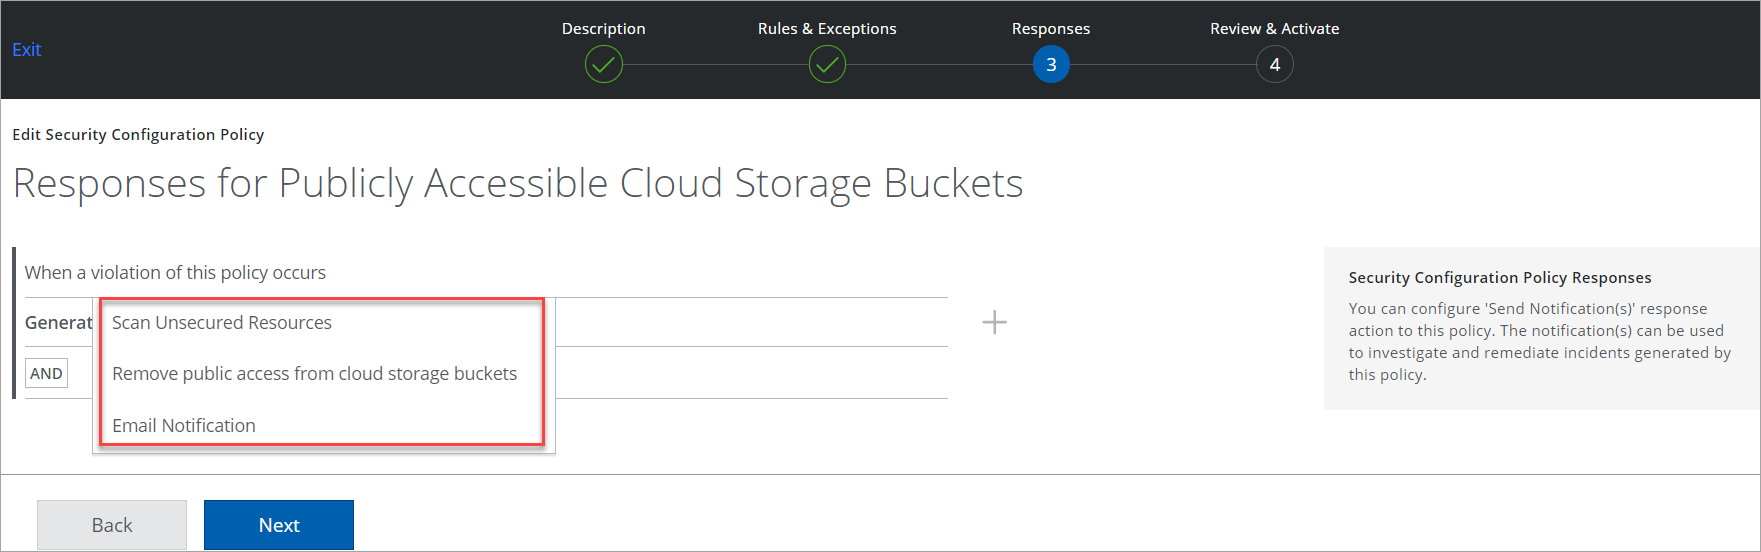
Email Notification All GCP policy templates  

Remove public access from cloud storage buckets

  • Publicly Accessible Cloud Storage Buckets
  • Storage admin

Remove unrestricted access from firewall rules


  • Unrestricted CIFS Access in firewall rules
  • Unrestricted DNS Access in firewall rules
  • Unrestricted FTP Access in firewall rules
  • Unrestricted MongoDB Access in firewall rules
  • Unrestricted MSSQL Access (TCP) in firewall rules
  • Unrestricted MSSQL Access (UDP) in firewall rules
  • Unrestricted MySQL Access in firewall rules
  • Unrestricted NetBIOS Access in firewall rules
  • Unrestricted Oracle Database Access in firewall rules
  • Unrestricted PostgreSQL Access in firewall rules
  • Unrestricted RDP Access in firewall rules
  • Unrestricted RPC Access in firewall rules
  • Unrestricted SMTP Access in firewall rules
  • Unrestricted SSH Access in firewall rules
  • Unrestricted Telnet Access in firewall rules
  • Unrestricted VNC Listener Access in firewall rules
  • Unrestricted VNC Server Access in firewall rules
  • Compute Security Admin

Scan Unsecured Resources

  • Publicly Accessible Cloud Storage Buckets
  • Viewer
  • Security Reviewer


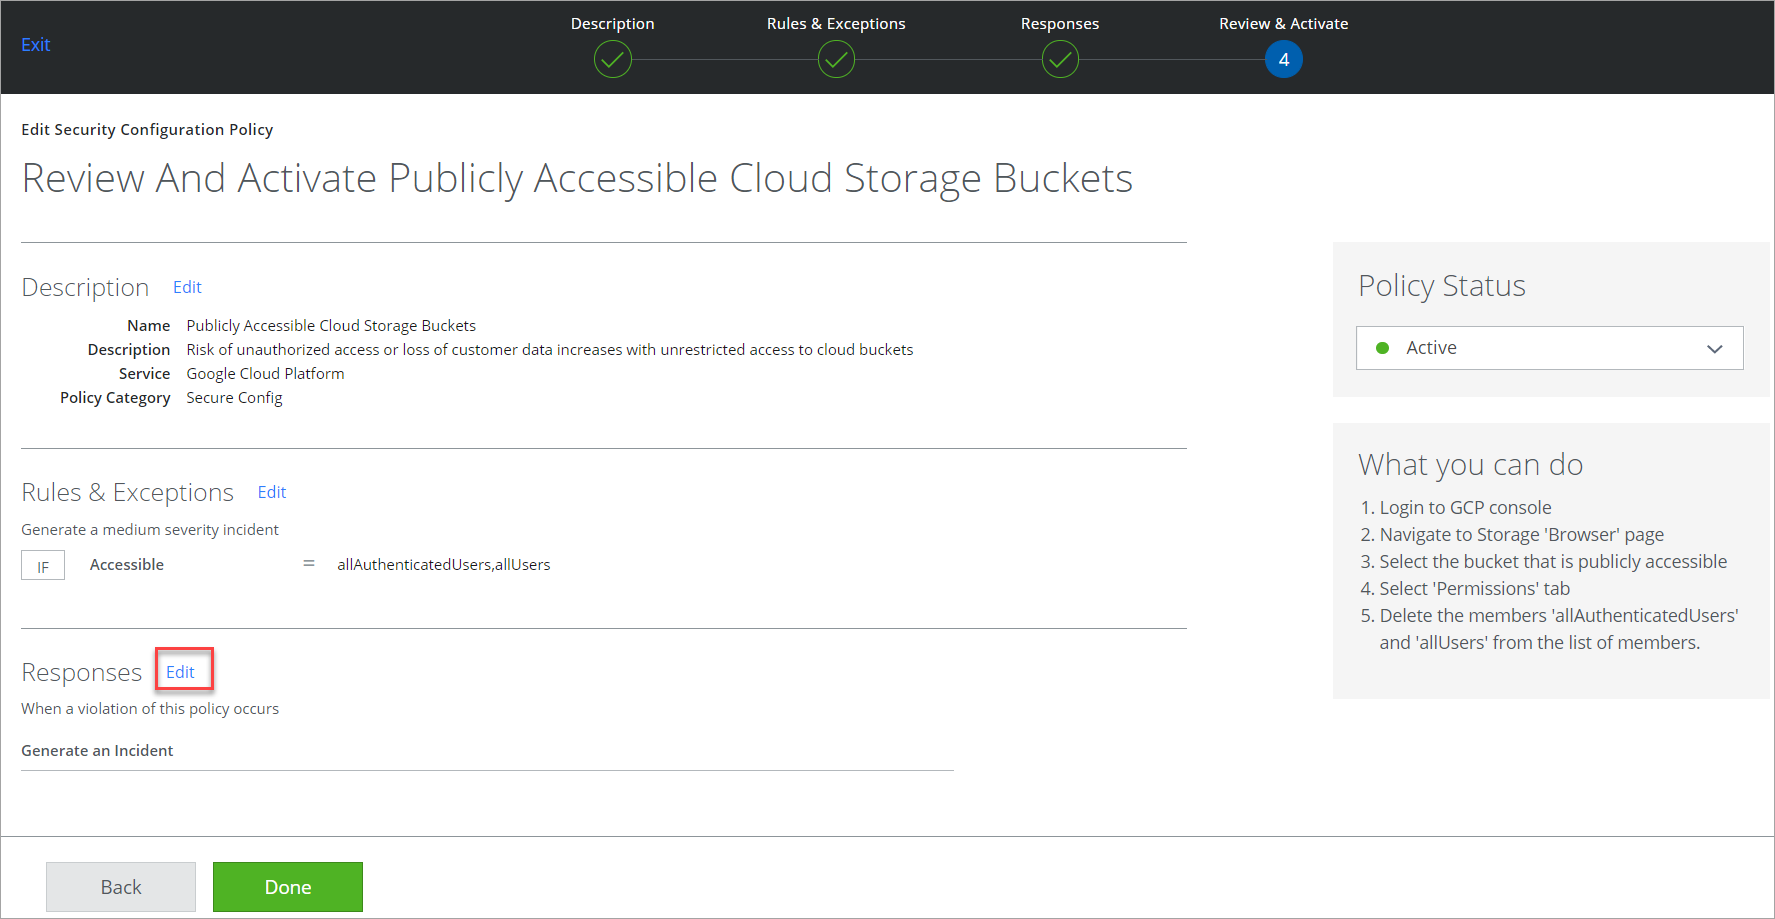
Configure Auto-Remediation

To add an auto-remediation response:

  1. Choose Policy > Configuration Audit.
  2. To add the response, select the policy and click Edit.
    clipboard_e20fb2c5dd3ac328e59610f272553c72f.png
  3. Under Responses, click Edit.
    clipboard_e93a4f5eb91187f7f8b146993c5ef2d76.png
  4. You are redirected to the following screen. To add the responses, click Add.
    clipboard_e9f84bc426778766688037086bd0c8258.png
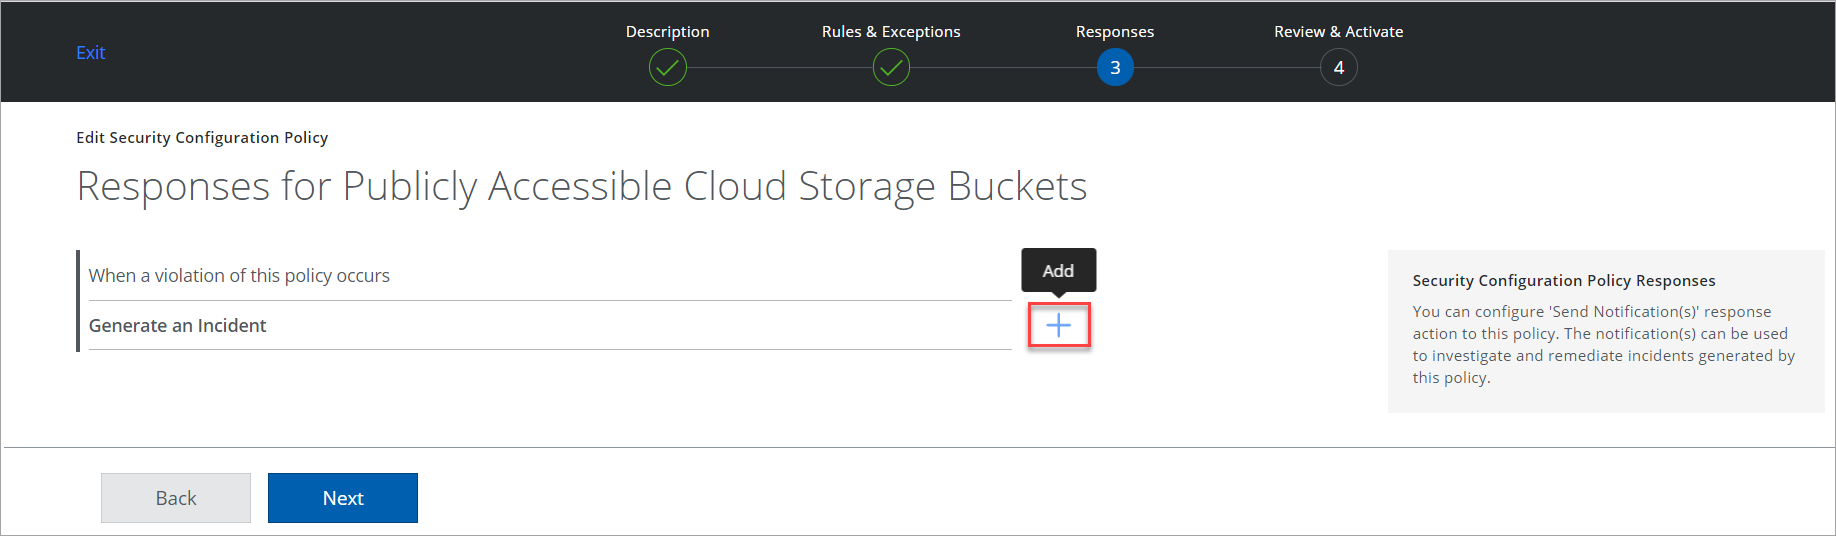
  5. Select the required response from the list and click Next.
    clipboard_e1e85260851bb10a9b724d2aa09680c58.png
  6. Verify the selected response is shown under Responses and click Done.
    clipboard_efaf2f7a1bc9b4b9cd87500123ca64b71.png
  • Was this article helpful?