Instance Level Keys
You can configure separate keys for a tenant's service instances.
Prerequisites
Make sure you have the following items before configuring instance-level keys:
- Finalize all the service instance names before configuring the key agent. You cannot change the service instance name after configuring the key agents. If you need to change the name after configuring the key agents, you have to edit the key agent instance name to match the new service instance name. Once the key agent is configured, it is not recommended to change the service instance name.
- Install the Key Agent Installer version 5.1.1 or greater. To download the installer, see Key Agent Installer.
Configure Instance Level Keys
Perform the following activities to configure Instance Level Keys:
- Contact Skyhigh CASB Support to add the feature flag to the tenant.
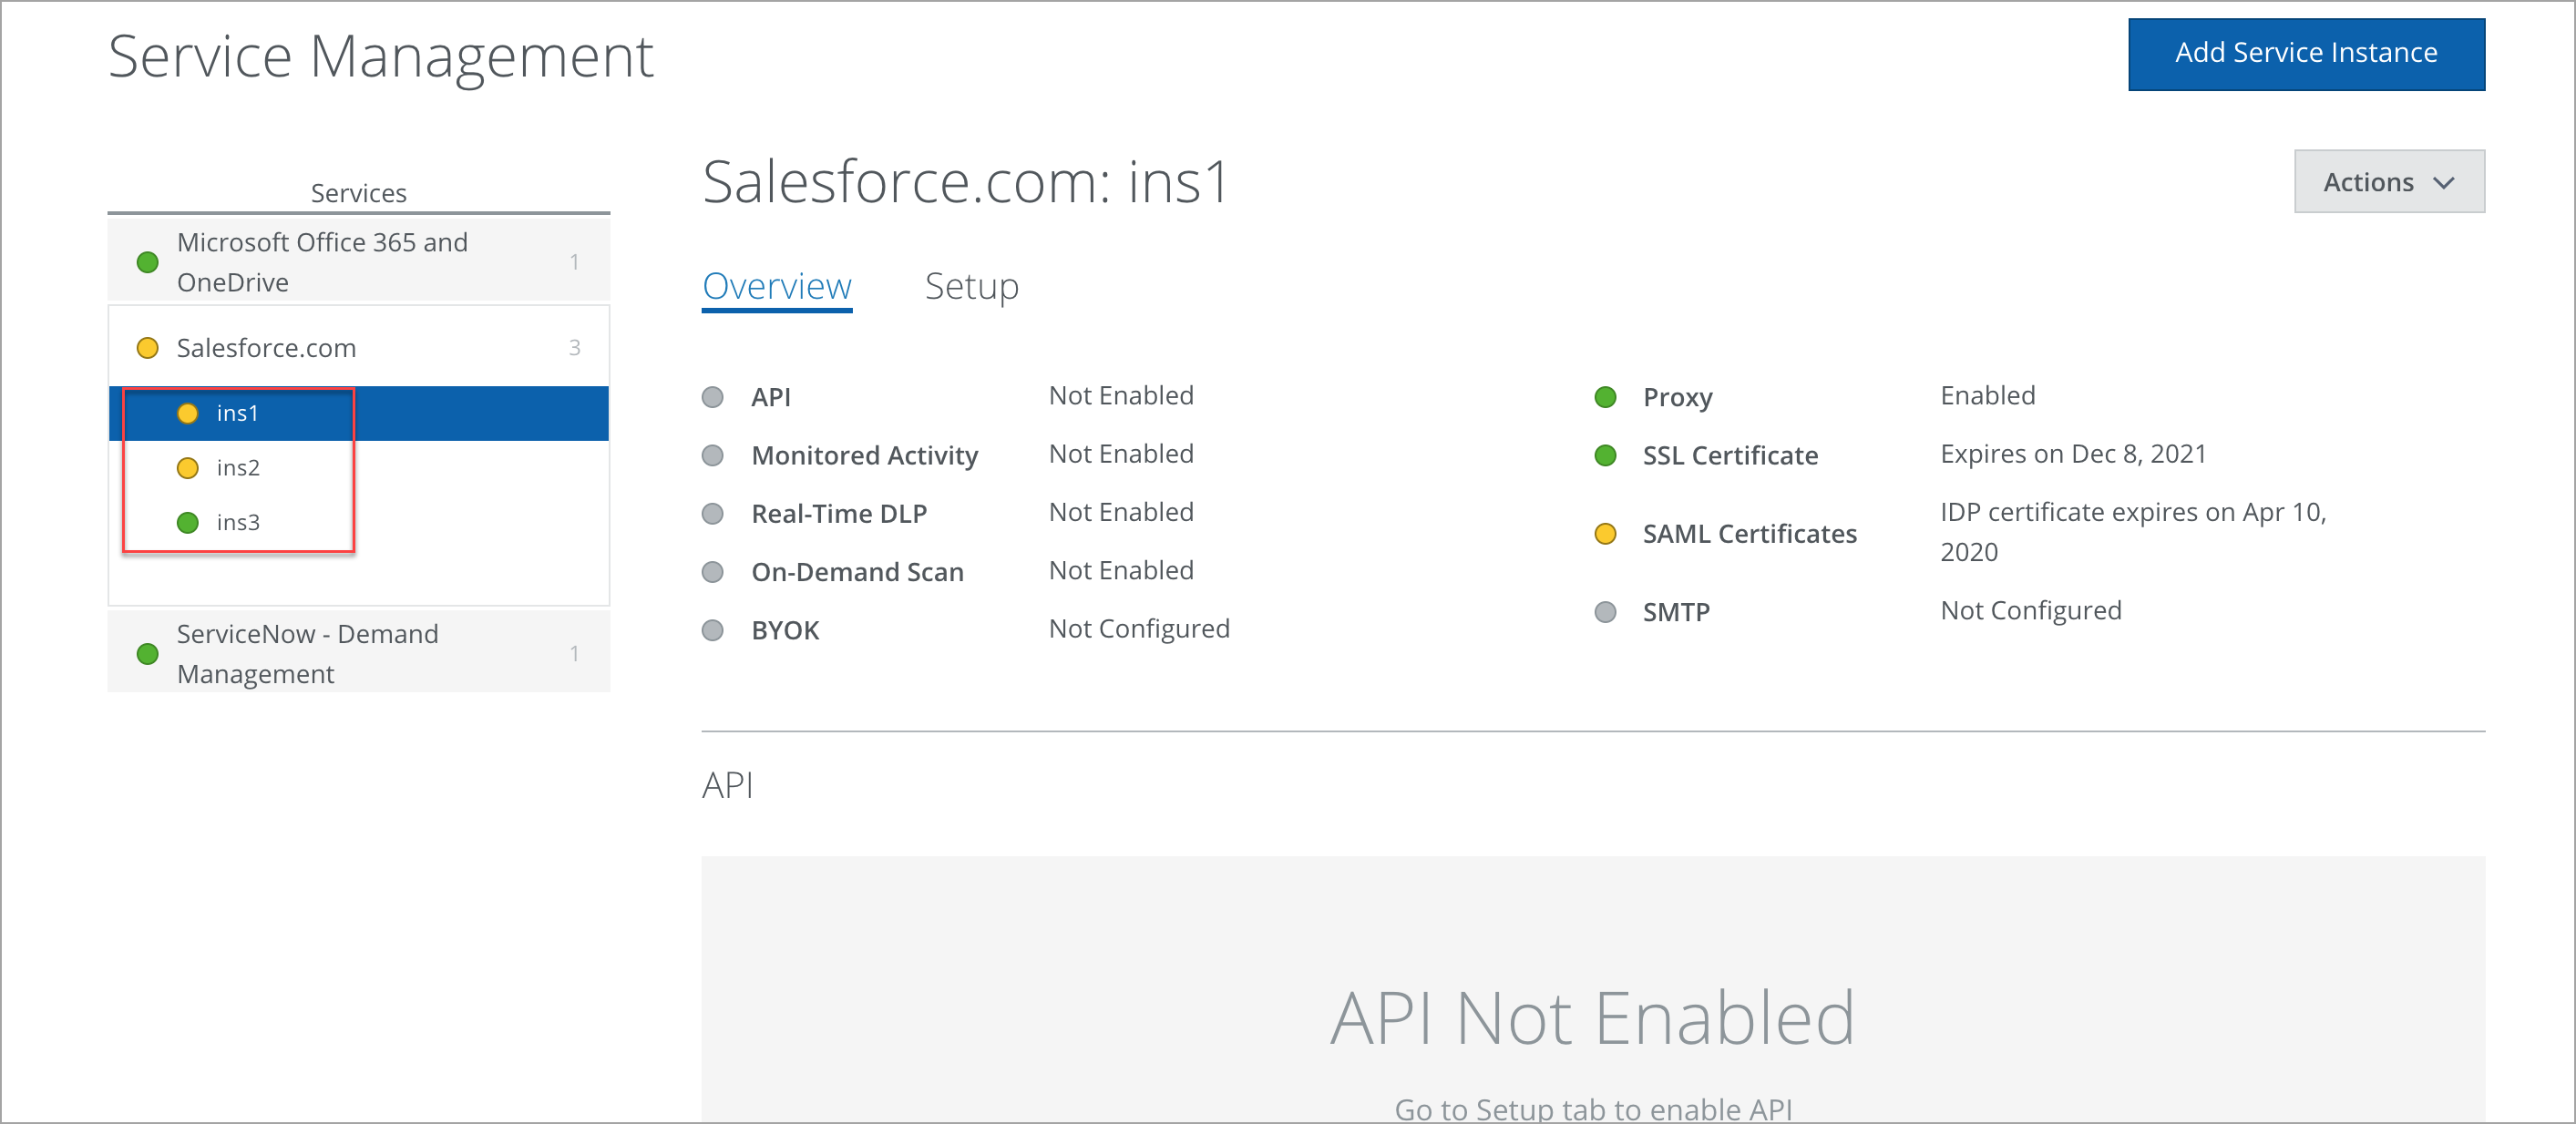
- Log In to Skyhigh CASB and go to Settings > Service Management.
- Select the Service Instance > Property and set the property instance.level.keyagent.config to true.

- Install the key agent.
- During installation, you are prompted for attributes or a keyname.
NOTE: It is recommended to use the attributes because a single key agent can fetch keys for multiple instances.
- Attributes. Select this option when the Hardware Security Module (HSM) supports adding attributes to keys.
- If you choose attributes, then to the keys configured in the HSM add x-Skyhigh-Service (attribute value would be 3487 for service now) and x-Skyhigh-Instance (attribute value would be the instance name for which you are configuring the key).
- Keyname. Select this option when the HSM doesn't support attributes.
- If you choose keyname, then the format is <keyname>_SHNINS_<instance name>.
- For example, if you choose keyname as "john" and the instance name on which you are configuring is "snowdev", then the keyname to provide during installation is "john_SHNINS_snowdev". You have to give the same name for the key in the HSM as well.
- If you have another service instance where you want to use a different key, then you have to install another key agent and follow the same steps from the beginning.
- If you choose keyname, then the format is <keyname>_SHNINS_<instance name>.
- Enter the credentials used to access the Skyhigh CASB Security Manager and click Next.
- Once the installation is completed, click Finish to close the installer.
- After completion, the key agent starts to send the key. You can monitor it in shnka-debug.log.
- Once you see the 204 response code in the log, login to Skyhigh CASB and go to the instance's service property and set the property instance.level.keys to true.
After setting this property, the proxy starts to use the keys for encryption and decryption.
Manage Old and New Keys
There are two ways to encrypt and use old keys in the Key Management Service (KMS) and use new keys:
- Data is not rotated after the new key version is pushed. Decryption works with the previous keys as long as the KMS supports key rotations. If the data is encrypted with the previous key, then the encrypted fields and file name (if encrypted) will not be searchable. Search always works on data encrypted with the latest key only.
- Data is rotated with a new key version. Decryption and search should work for encrypted fields and filenames.
NOTE: Skyhigh CASB supports 16 key rotations. If the key needs a new version after 16 key rotations, then you need a complete rotation with a fresh key. You need to contact Skyhigh CASB Support before any fresh key is used.

