Configure Skyhigh CASB for Clarizen
To integrate Clarizen with Skyhigh CASB, first you must create a Clarizen instance in Skyhigh CASB, then enable API access for Clarizen in Skyhigh CASB.
For details on supported monitoring activity and DLP policies, see About Skyhigh CASB for Clarizen.
Prerequisites
Before configuring Skyhigh CASB for Clarizen, perform the following steps to enable Skyhigh CASB in Clarizen:
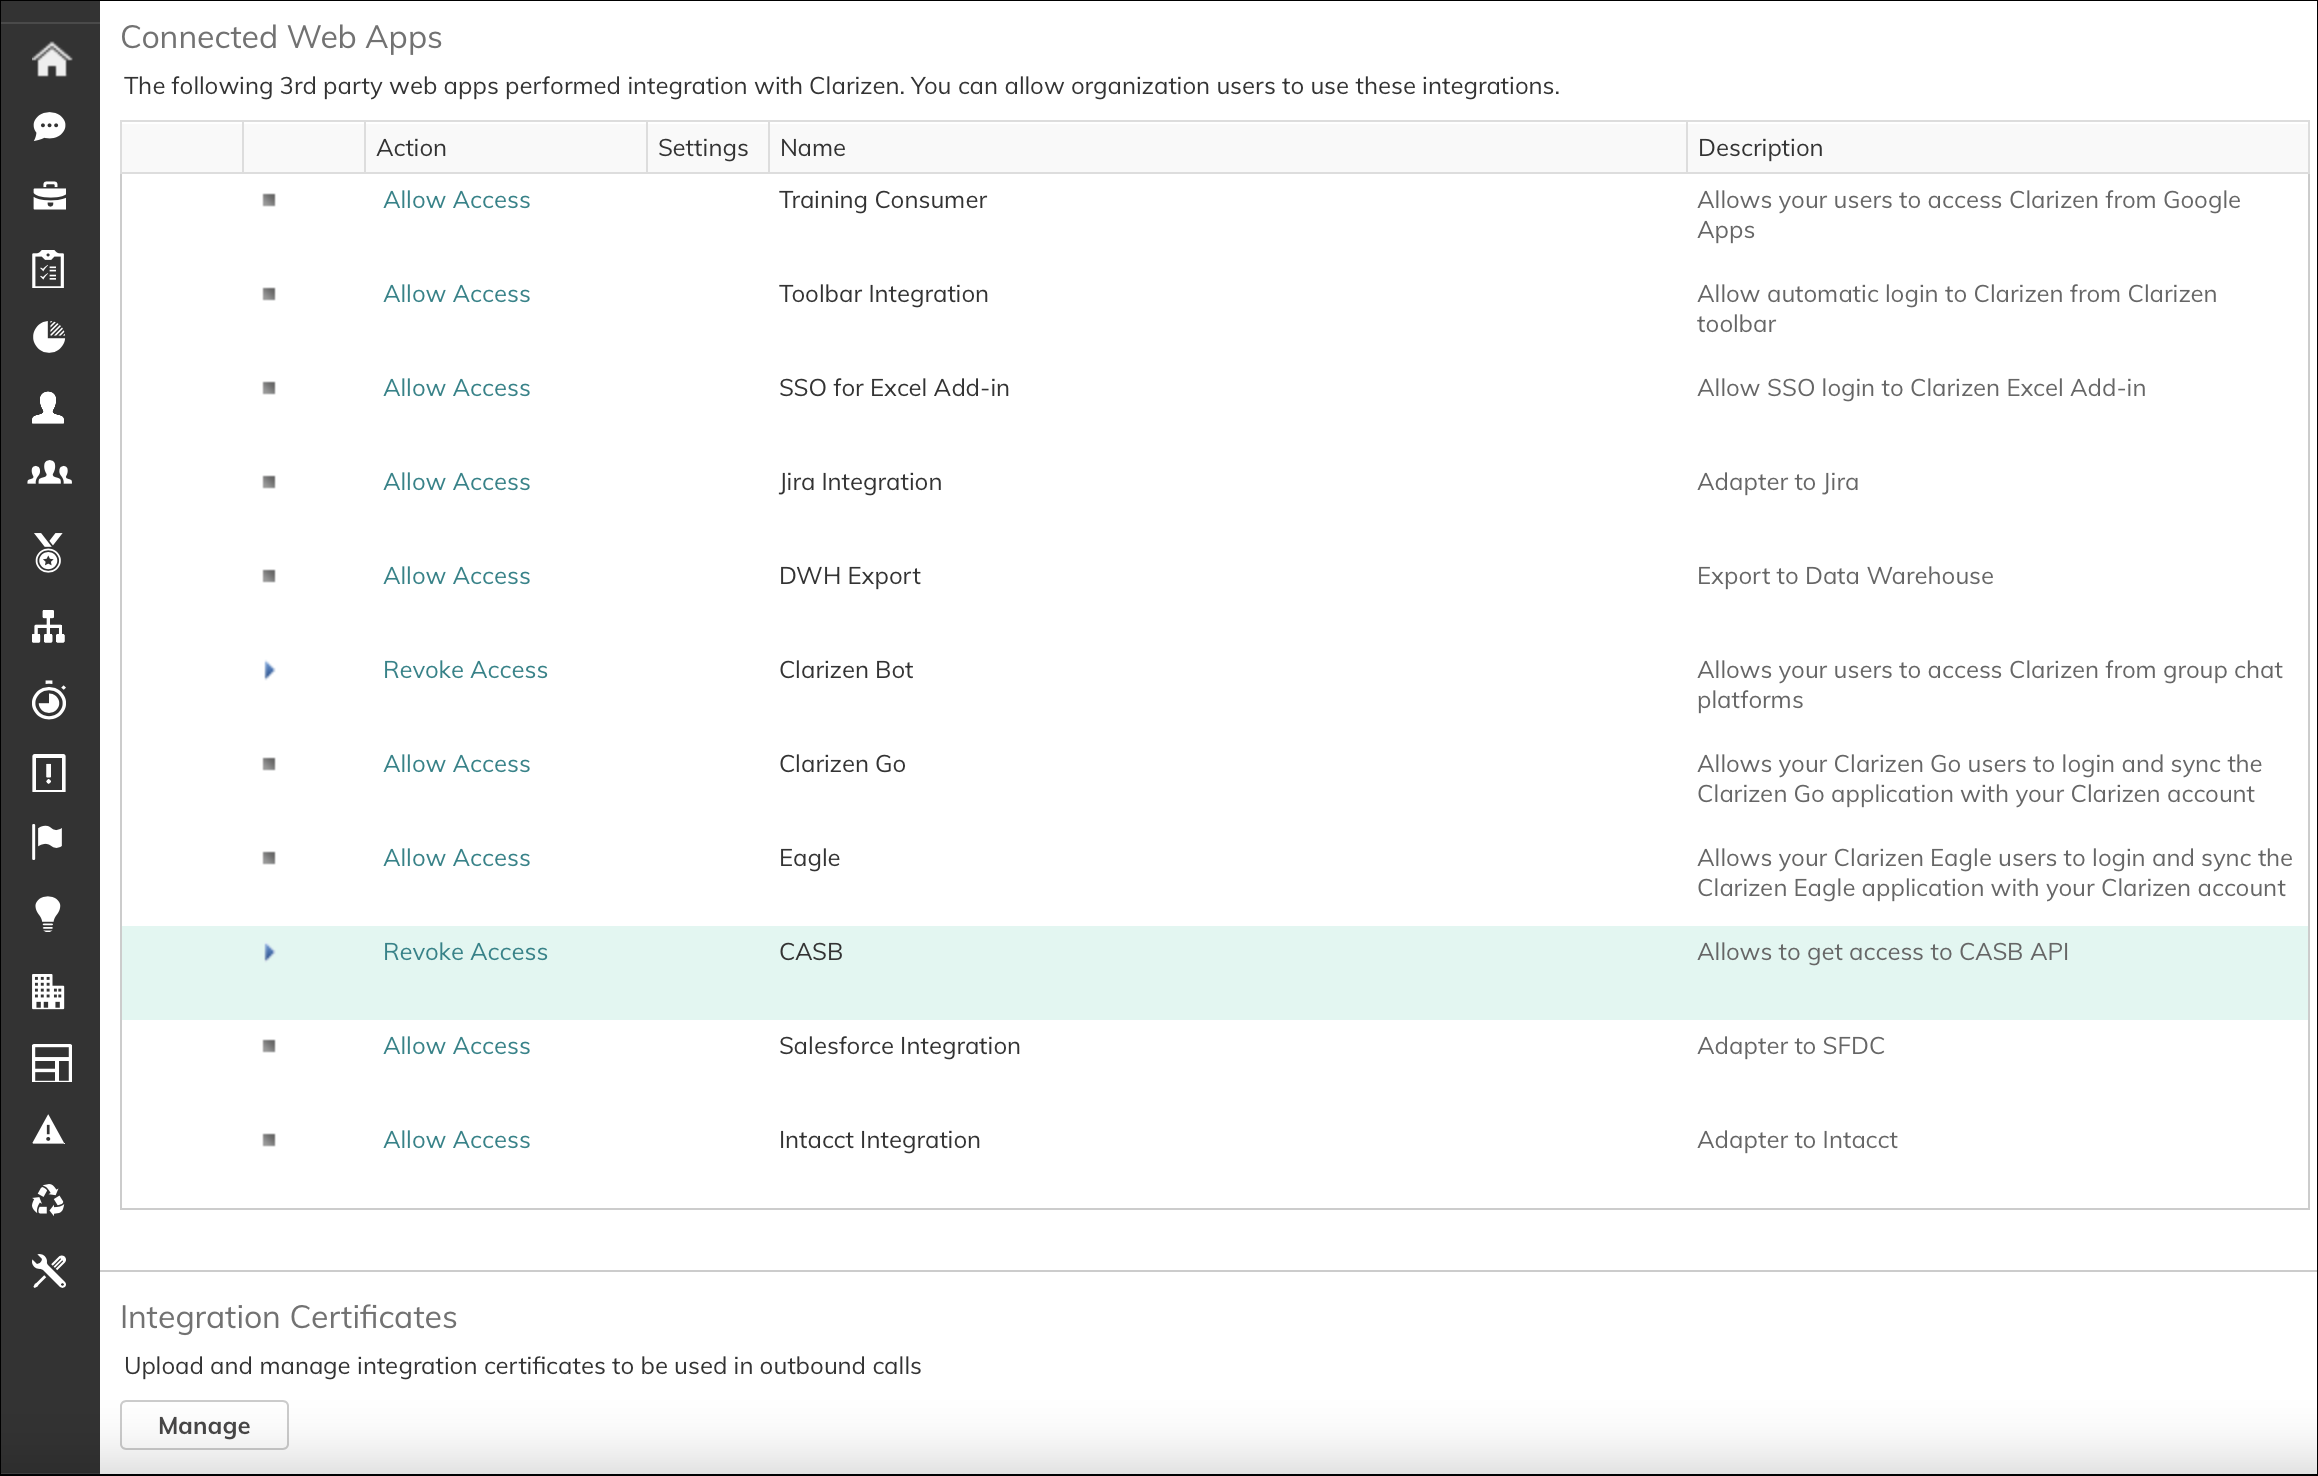
- Go to Clarizen and log in with the administrator credentials.
- In the admin console, go to Settings > Extensions > Connected Web Apps.
- Under the list of Connected Web Apps, corresponding to CASB, click Allow Access.
Enable API Access
To configure Skyhigh CASB for Clarizen:
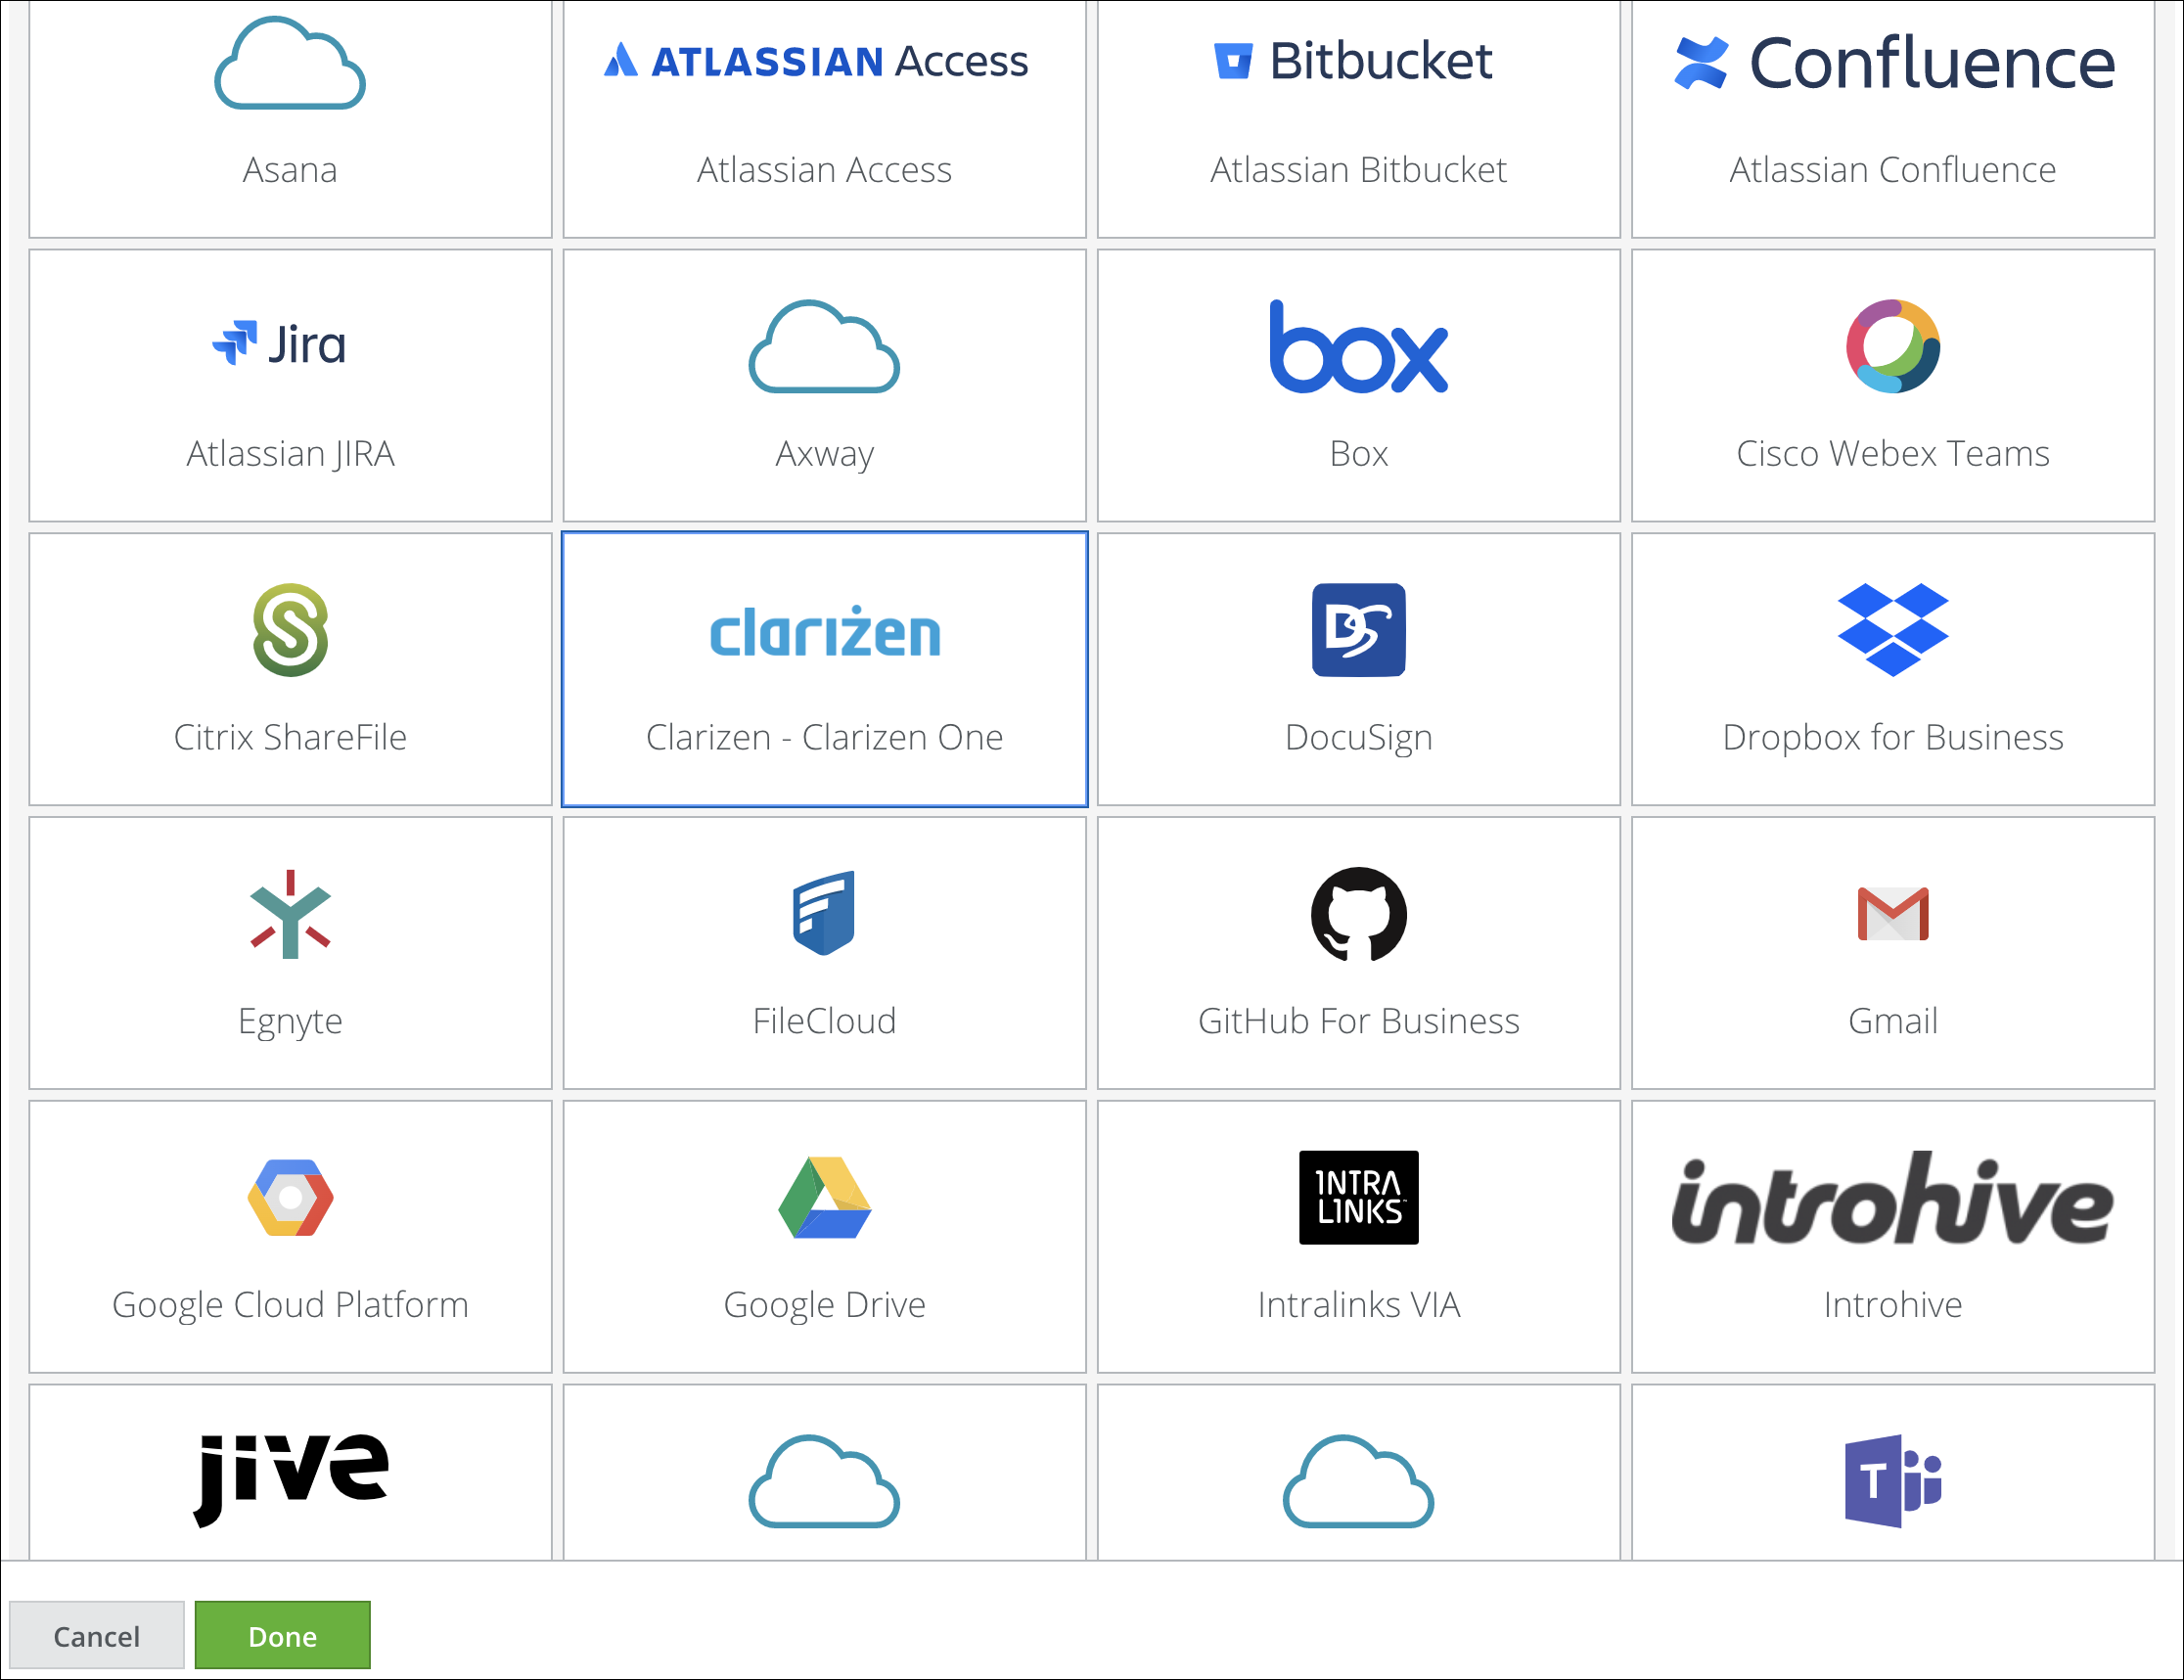
- In Skyhigh CASB, go to Settings > Service Management.
- Click Add Service Instance.
- Select Clarizen, add a unique name for the instance and click Done.
- Select the newly added Clarizen instance from the Services list.
- Click the Setup tab, and click Enable.

- Click Provide API Credentials.

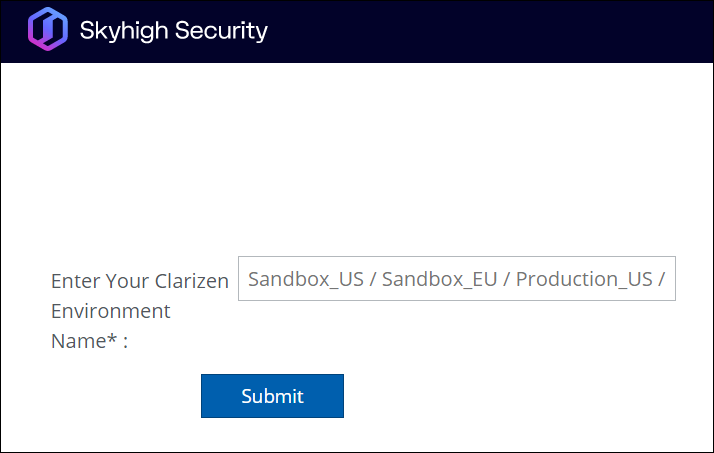
- Enter your Clarizen Environment Name. Enter the name of your Clarizen environment. For example, Production_US. Then click Submit.
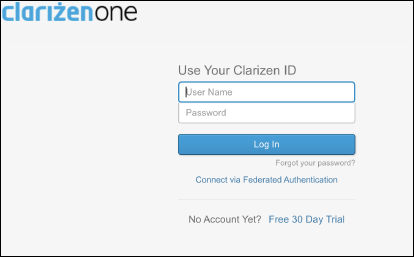
- On Clarizen, log in with the administrator credentials for the selected Clarizen environment.
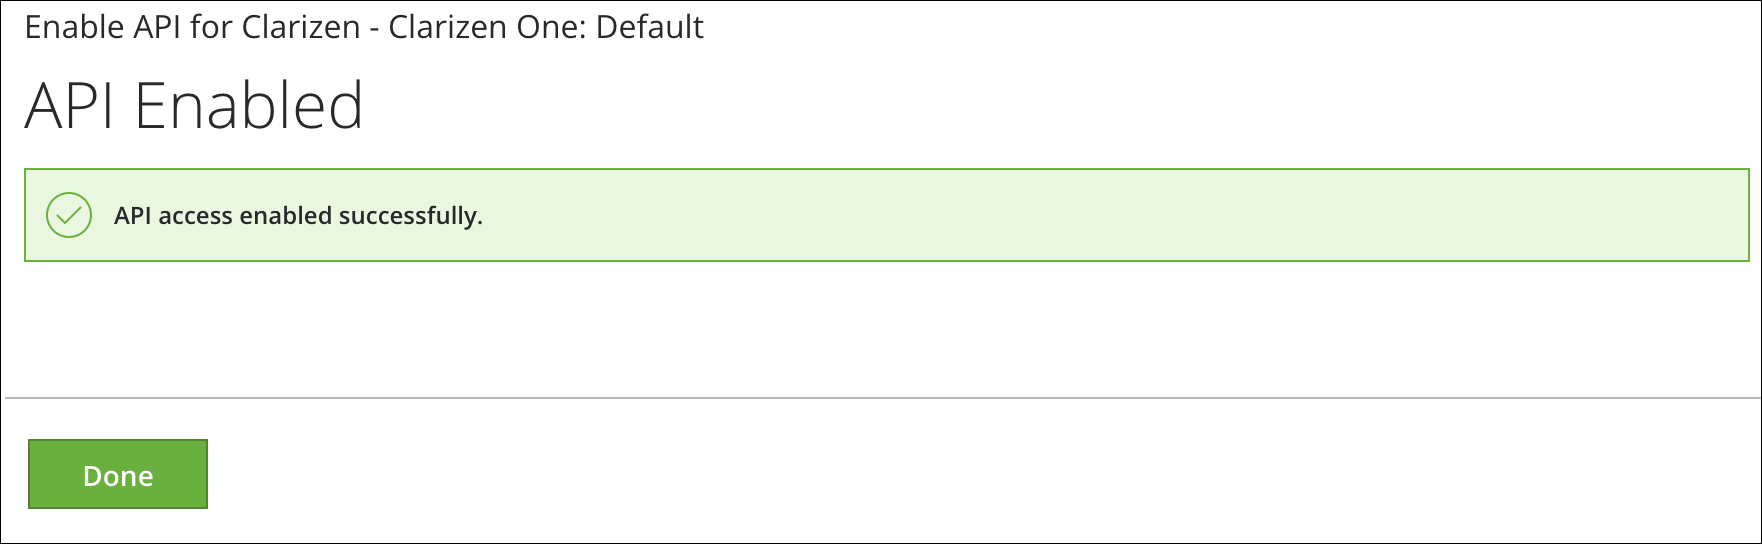
- Click Done.
- The Overview and Setup tabs for the Clarizen instance display the status as enabled.