Integrate Skyhigh CASB with WSGS
To integrate Skyhigh CASB with Skyhigh Web Security Gateway Service, perform the following tasks.
Download SCP
- Go to Settings > Integrations > Trellix.
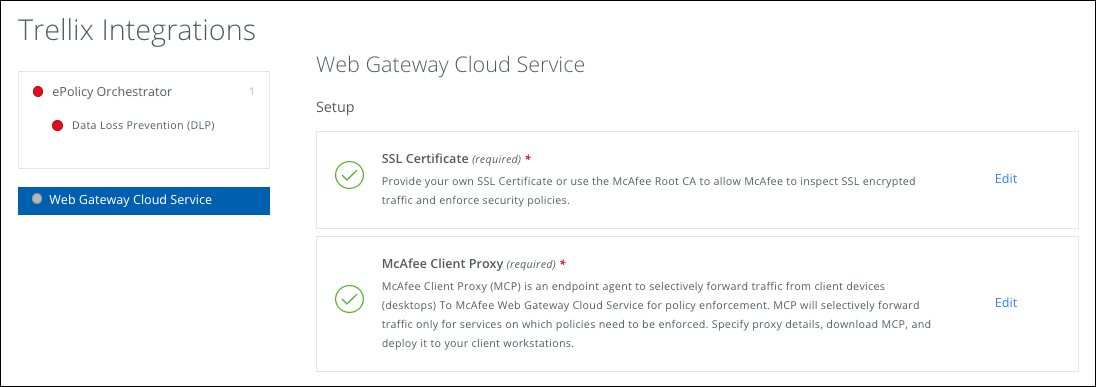
- Select Skyhigh Web Security Gateway Service.
- Under Setup, for SCP, click Edit.
- Under Download and Deploy SCP, click the link to go to the Skyhigh CASB Installers page.
- Install the software in your Windows or MacOS environment using the instructions in the following sections.
Install SCP for Windows
- From the folder containing the installation files, go to \Client\Windows\Signed_StandAlone.
- Double-click the installer executable file that is correct for your system:
- McpInstaller.x64.exe
- McpInstaller.x86.exe
- Accept the license agreement, then follow the instructions in the installation wizard.
After Client Proxy is successfully installed, it starts running on the clients. If the policy file is saved locally, the software loads the policy and starts redirecting traffic.
Install SCP for MacOS
- From the folder containing the installation files, go to /Client/Mac/Signed_StandAlone.
- Double-click the file Mcp_Mac_Distribution a.b.c Build x Package #y.dmg.
(a.b.c is the version number of the release, x is the build number, and y is the package number.) - In the folder that opens, double-click the installation package McpDistribution.pkg.
- Accept the license agreement, then follow the instructions in the installation wizard.
After SCP is successfully installed, it starts running on the clients. If the policy file is saved locally, the software loads the policy and starts redirecting traffic.
Configure Third-Party Proxies
If you have third-party proxies in place, configure the information here so that SCP can forward traffic to your proxies.
- Go to Settings > Integrations > Trellix.
- Select Skyhigh Web Security Gateway Service.
- Under Setup, for SCP, click Edit.
- Under Desktop, if you have any third-party explicit proxies inline, click Yes.
- Enter proxy details, including:
- Name (optional)
- IP Address or fully qualified domain name.
- Port Number
- Click + to add more proxies, if necessary.
- Enter proxy details, including:
- Click Save.
- To acknowledge that proxy configuration will not take effect until a new OPG file has been pushed to endpoints installed with SCP, click OK.
Provide your SSL Certificate
You can upload your own SSL Certificate or you can use the Root CA provided by Skyhigh Security.
To use your own SSL Certificate, it should be a Certificate Authority keypair trusted by your clients. It can be a Root CA or a subordinate CA.
- Go to Settings > Integrations > Trellix.
- Select WGCS.
- Under Provide your SSL Certificate, click Edit.
- Select the SSL certificate you plan to use:
- Use our Own. Browse to upload your SSL Certificate and Private Key.
- Use Skyhigh Security. Root CA. Click Download to download the Skyhigh Security root certificate.
- Click Save.