Create a Vulnerability Scan for Container Images
Vulnerability Scans for container images scans container repository services, including Amazon Elastic Container Registry (ECR), Azure Container Registry (ACR), and Google Container Registry (GCR).
Prerequisites
Prerequisites for AWS
The following minimum permissions are needed in the RoleARN policy JSON:
"ecr:GetAuthorizationToken",
"ecr:ListImages",
"ecr:BatchGetImage",
"ecr:DescribeImages",
"ecr:DescribeRepositories",
"ecr:GetRepositoryPolicy",
"ecr:BatchCheckLayerAvailability",
"ecr:GetDownloadUrlForLayer",
"ec2:DescribeRegions"
Any existing RoleARN policy can be modified and the corresponding RoleARN can be linked with CVS scans.
Prerequisites for Azure Container Registry (ACR)
For Vulnerability Scans to run, the following role is required:
- Reader
Prerequisites for Google Container Registry (GCR)
These are the minimum roles needed for the Skyhigh CASB account in GCR for CVS to work:
"Pub/Sub Editor",
"Storage Object Viewer"
Configure a Vulnerability Scan for Container Images
Perform the following activities to configure a Vulnerability Scan:
- Choose Policy > On-Demand Scan.
- Click Actions > Create a Scan.
- The Scan Creation Wizard is displayed. On the General Info page enter the following:
- Scan Type. Select Vulnerability.
- Name. Enter a unique identifier so that you can rerun the scan later.
- Description. Enter an optional description for the scan.
- Service Instance. Select the cloud service instance you want to scan.
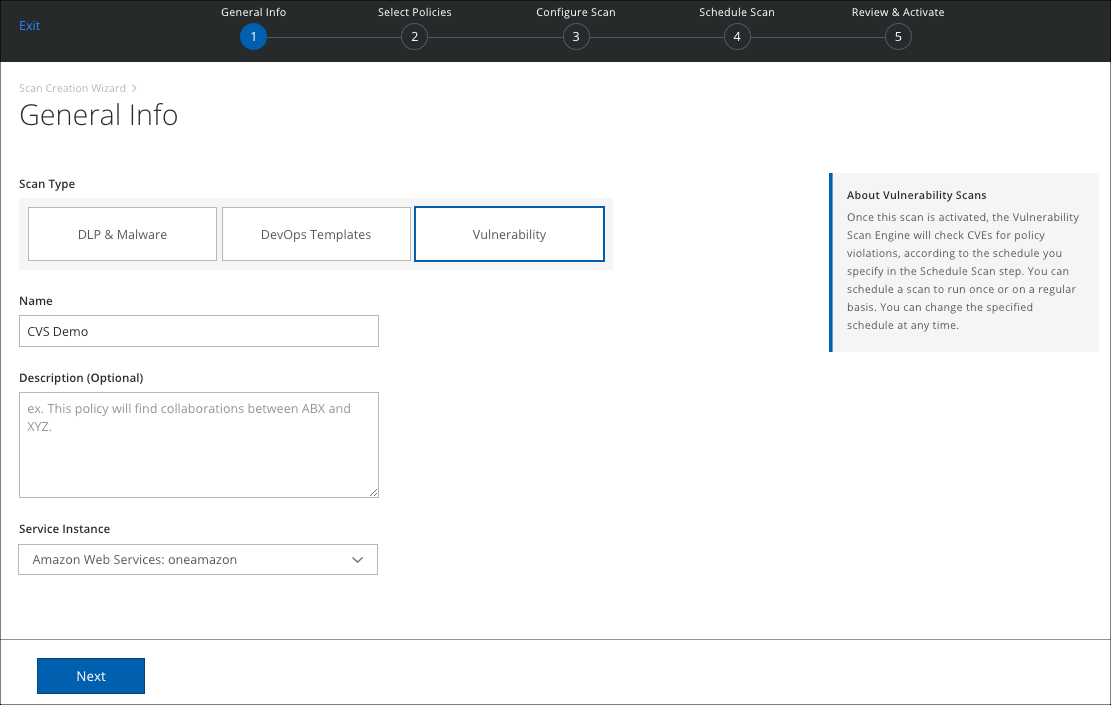
- Click Next.
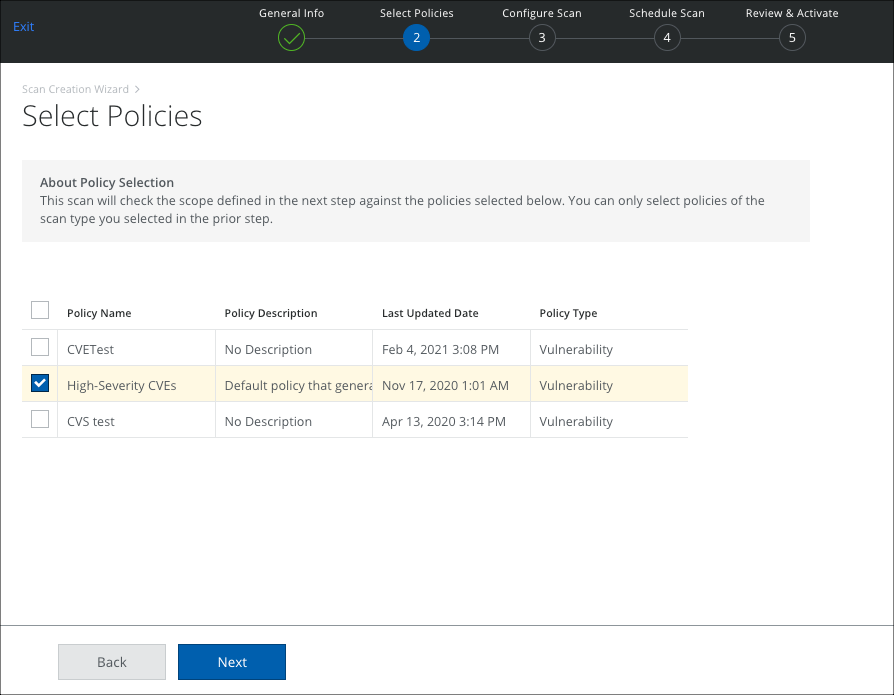
- The Select Policies page displays the active Vulnerability policies. Select the policies you want to use, and click Next.
- On the Configure Scan page, select Container Images, and configure the scope of your scan.
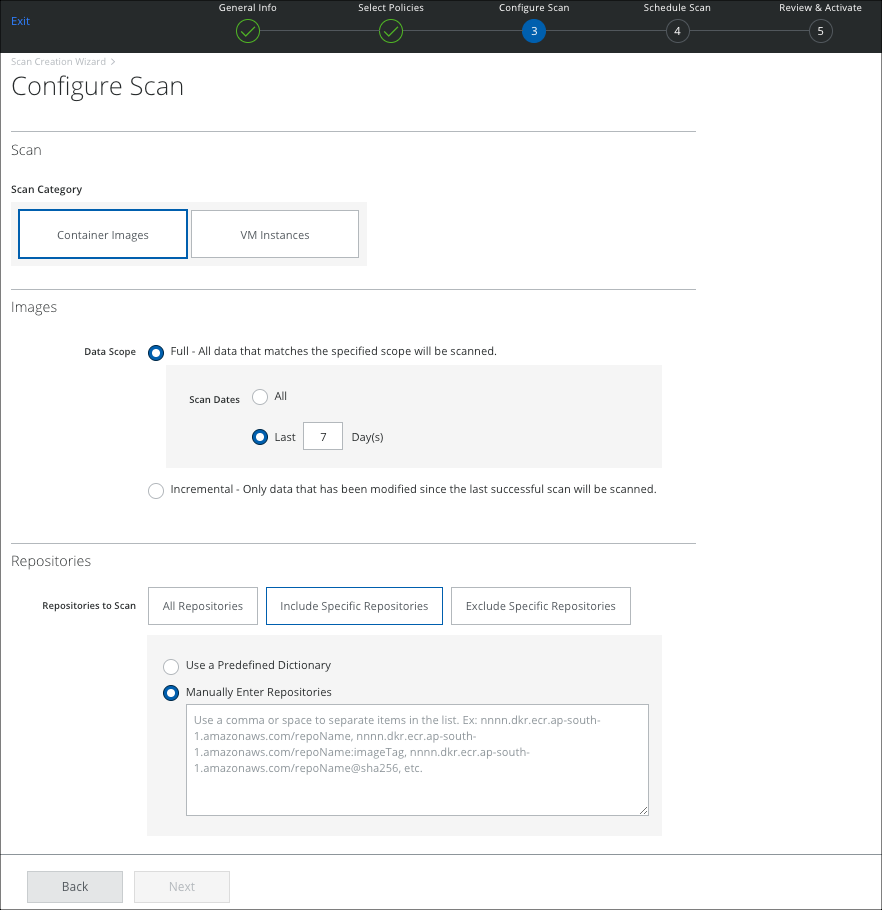
- Images:
- Data Scope
- Full. Scans all images every time the scan is run.
- Incremental. Scan only those images that have added/modified since the last successful scan.
- Scan Dates. Select All, to scan all dates. Or select Last X Days to limit the scan to the specified time period.
- Data Scope
- Repositories:
- All Repositories. Scan all repositories.
- Include Specific Repositories. To include specific repositories for scan, enter the applicable repositories using the following choices.
- Exclude Specific Repositories. To exclude specific repositories for scan, enter the applicable repositories using the following choices.
- Use a Predefined Dictionary. Select a Predefined Dictionary from the drop-down list. For more information, see this topic.
- Manually enter Repositories. Manually enter the repositories in the textbox which needs to be scanned. You can enter multiple repositories separated by a space, or comma.
- Images:
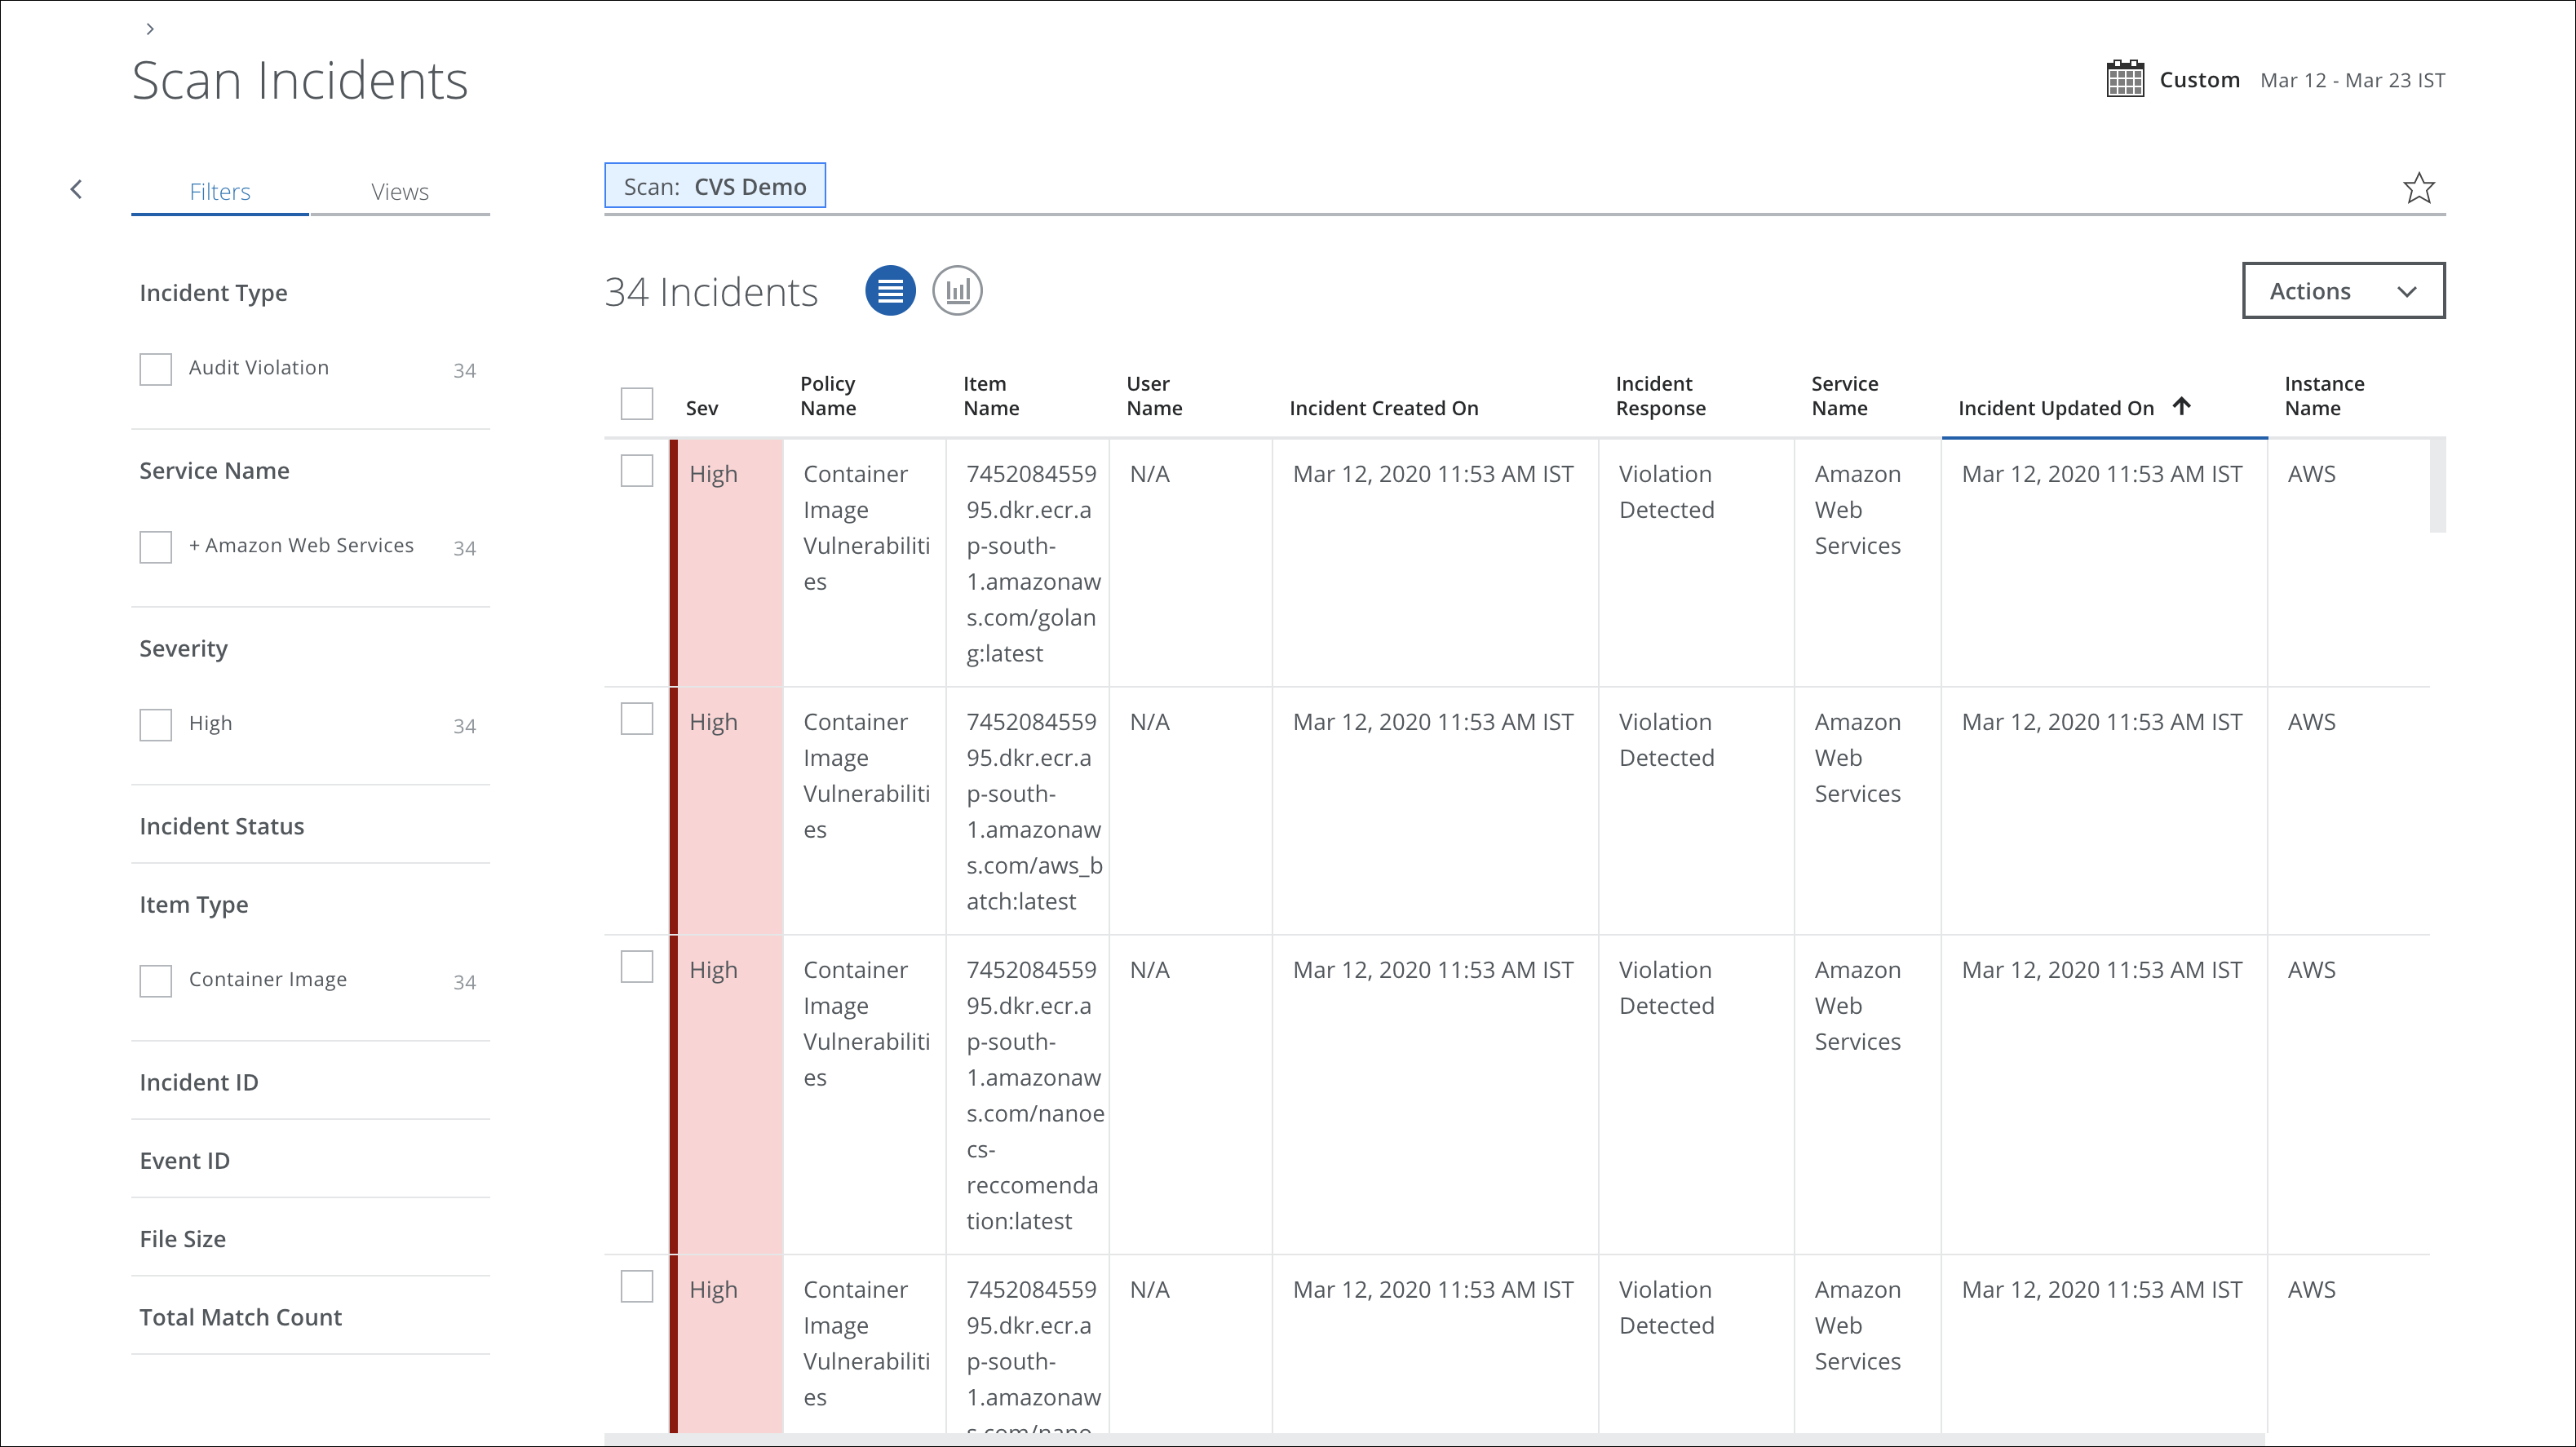
NOTE: An incident is generated per image. So, if there are three images specified in the scan, then three incidents might be generated. But, if the Common Vulnerabilities and Exposures (CVEs) found in an image are below the selected Vulnerability Severity Level, then those are not be included in the generated incidents. Also, if an image doesn't have a CVE or is above the selected Severity Levels, no incidents are generated for that image.
- Accounts:
- All Accounts. Scan all accounts.
- Include Specific Accounts. To include only specific accounts, click Edit and select the applicable Account checkbox.
- Exclude Specific Accounts. To exclude only specific accounts, click Edit and select the applicable Account checkbox.

- Click Next.
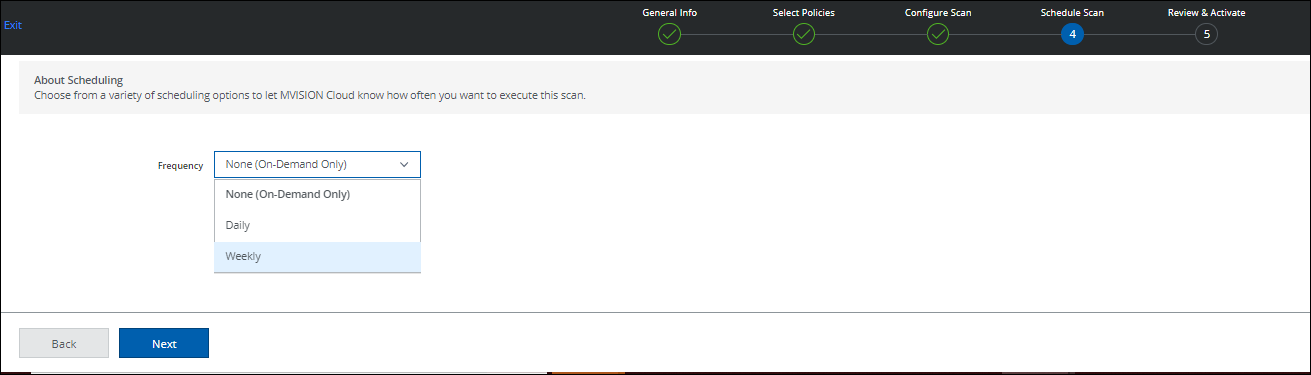
- On the Schedule Scan page, select the schedule to run your scan and click Next:
- None (On-Demand Only). Run the scan once now.
- Daily. Run the scan once a day. Configure the time and time zone.
- Weekly. Run the scan once a week. Configure the day, time, and time zone.
- On the Review and Activate page, review your settings for the On-Demand Scan, and click Save. Click Back to make changes.
When a scan is complete, you can view the results or return to scan on the Policy > On-Demand Scan page.
You can view policy incident violations on the Policy > Policy Incidents page. Filter for Incident Type > Vulnerability Violation.