Create a Malware Scan
-
 Watch the visual story to Create a Malware Scan
Malware Scan allows you to schedule a scan once or regularly to detect and prevent content violations in your cloud applications. You can change the specified schedule at any time and pause an in-progress scan.
NOTE: On-Demand Scans are only available with API-based deployments. Proxy-based deployments are not compatible with On-Demand Scans.
To create a Malware Scan:
- Go to Policy > On-Demand Scan.
- Click Actions > Create a Scan.
- The Scan Creation Wizard is displayed. On the General Info page, enter the following:
- Scan Type. Select DLP & Malware.
- Name. Enter a unique identifier so that you can rerun the scan later.
- Description. Enter an optional description for the scan.
- Service Instance. Select the cloud service instance you want to scan.
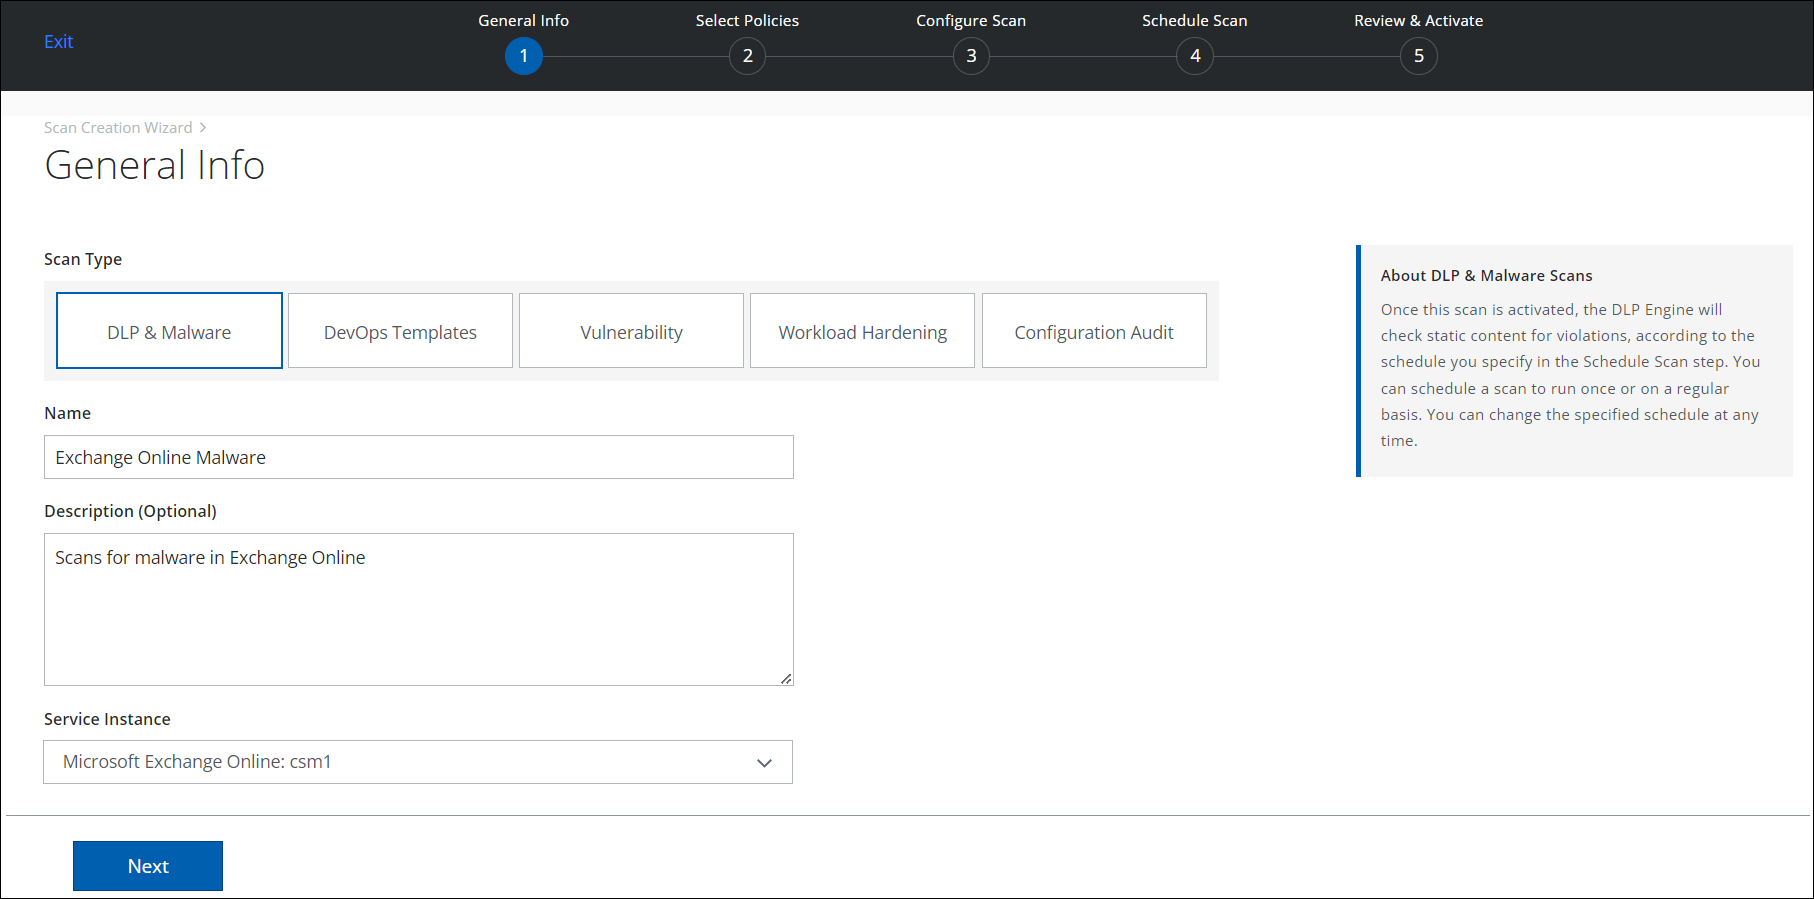
- Click Next.
- On the Select Policies page, select the available policies to use for your scan type.
- Click Next.
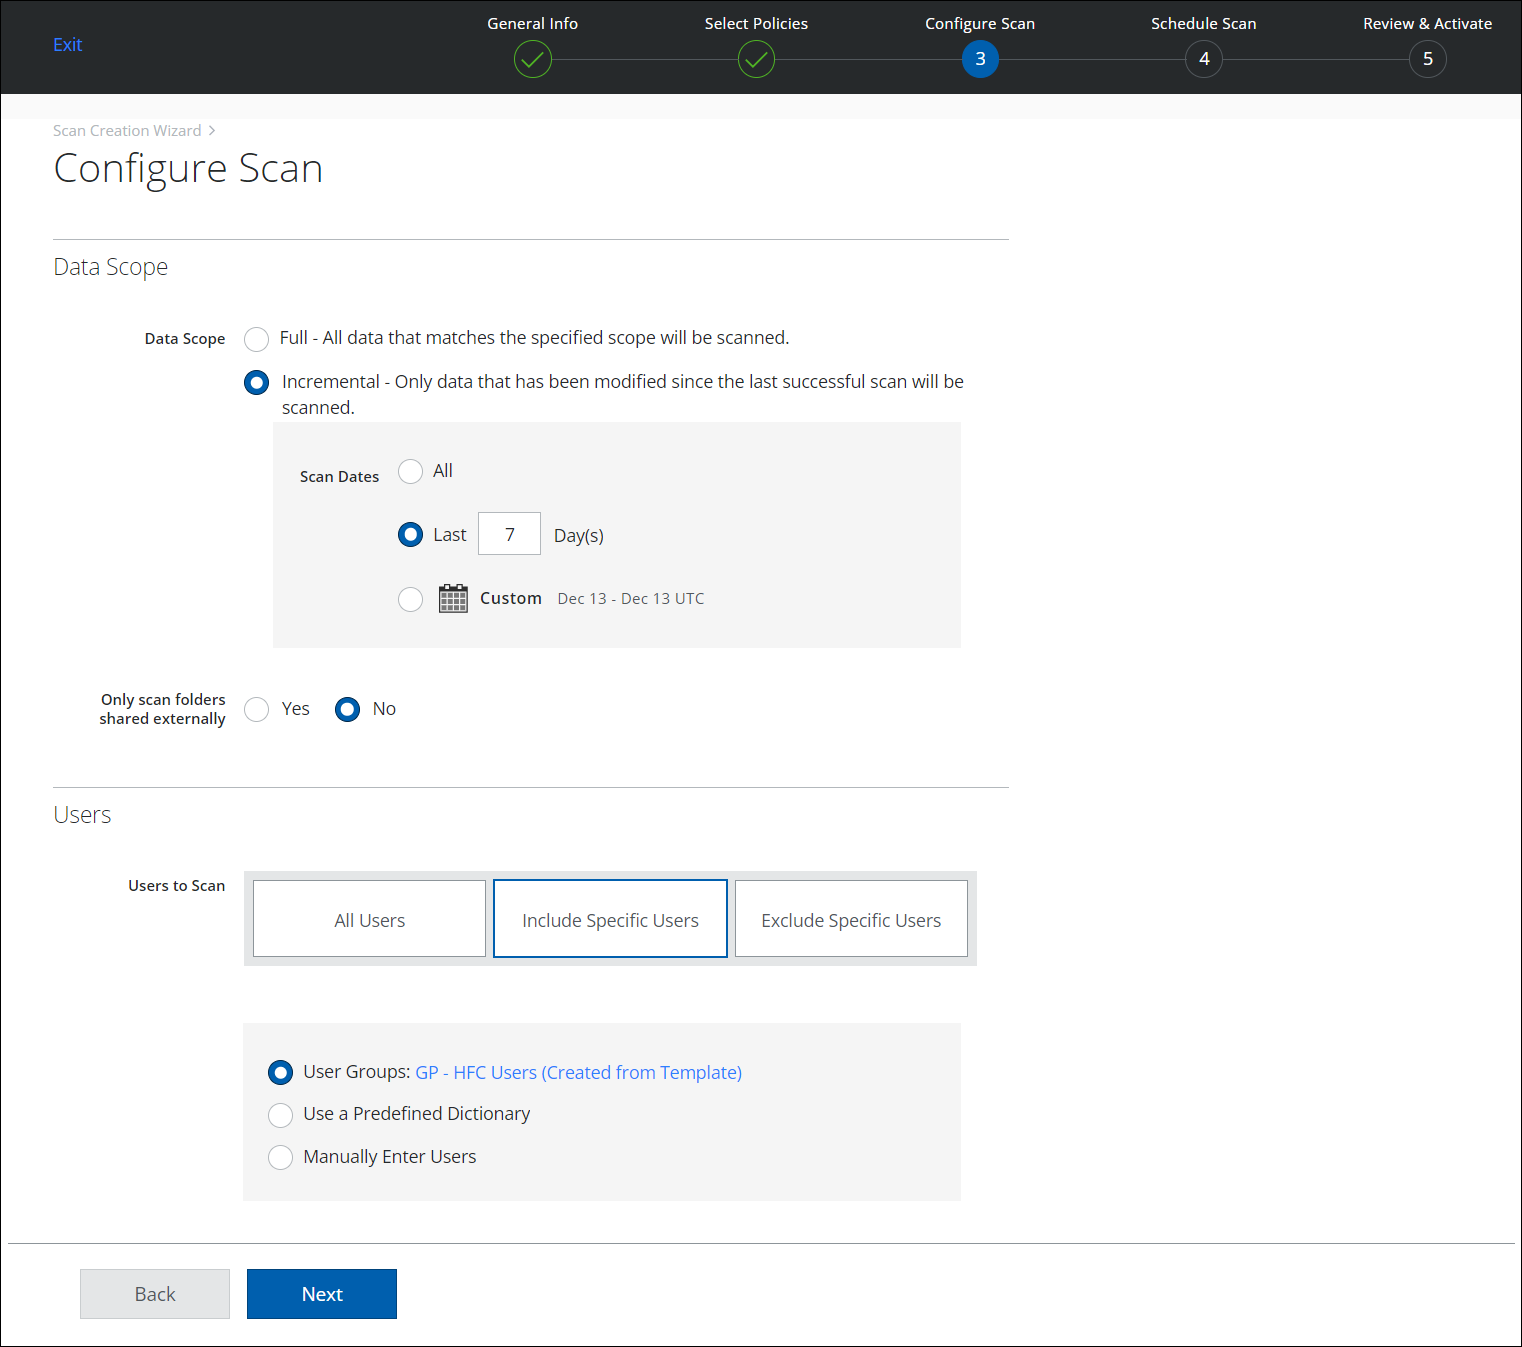
- On the Configure Scan page, configure the scope and users for your scan.
- Data Scope.
- Full. Scans all content every time the scan is run. The first time you run a scan, you must use Full mode.
- Incremental. Scan only content that has changed since the last successful scan. For details on Incremental mode, see About On-Demand Scans.
- Scan Dates. Select All, to scan all data. Or select Last X Days or Custom dates to limit the scan to the specified time period.
- Only scan folders shared externally. To limit the scan to public folders shared externally, select this checkbox. This option may not be available for all services.
- Email Folders. Select the required folders to scan for violating content in the email. This option may not be available for all services.
- Users.
- All Users. Scan all users.
- Data Scope.
IMPORTANT: If you're configuring a scan for Skyhigh CASB for Sharepoint, the Scan for All Users menu is replaced with options for All Site Collections, Only the Site Collections (and Subsites) on an inclusion list, or None of the Site Collections (or Subsites) on an exclusion list. Enter a comma-separated list of relative paths of the sites you'd like to scan. For example, if a site URL is https://abccorp.sharepoint.com/teams/site1, please enter "/teams/site1" instead.
- Include Specific Users. To include only specific users, select User Groups, a Predefined Dictionary, or enter users manually in a comma-separated list.
- Exclude Specific Users. To exclude only specific users, select User Groups, a Predefined Dictionary, or enter users manually in a comma-separated list.
- Click Next.
- On the Schedule Scan page, select the schedule for your scan to run:
- None (On-Demand Only). Run the scan once now.
- Daily. Run the scan once a day. Configure the time and time zone.
- Weekly. Run the scan once a week. Configure the day, time, and time zone.
- Click Next.
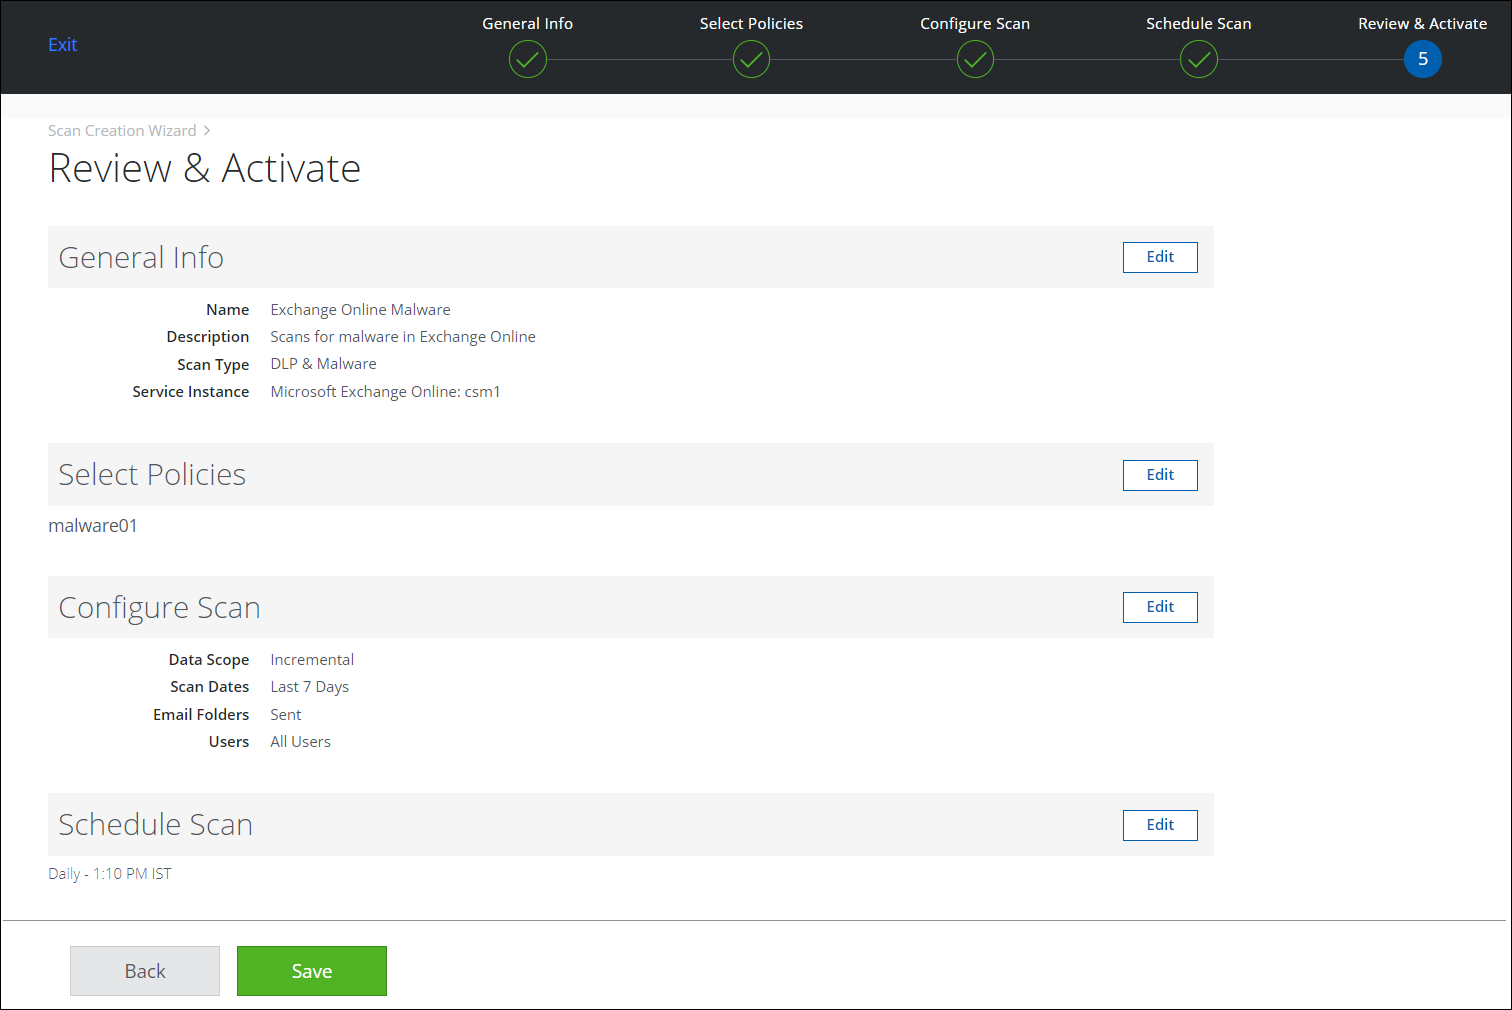
- On the Review & Activate page, review your settings for the On-Demand Scan, and click Save. Or click Back to make changes.
Once a scan is completed, you can view the results, or rerun the scan anytime on the Policy > On-Demand Scan page.
View policy incident violations on the Policy Incidents page.