Configure and Customize Email Notifications
Introduction
Configuring email notifications in Web Gateway is useful to alert when there might be a problem, or we wish to make the user experience better by providing built-in notifications. Below we will walk through creating a rule to email us whenever a user experiences an ICAP error from our DLP appliance (ICAP Server). Keep in mind, the placement and criteria of this rule could change to your needs.
High-Level Steps
- Create the email subject
- Create the email body
- Set the email recipents
- Configure the Email. Send Event
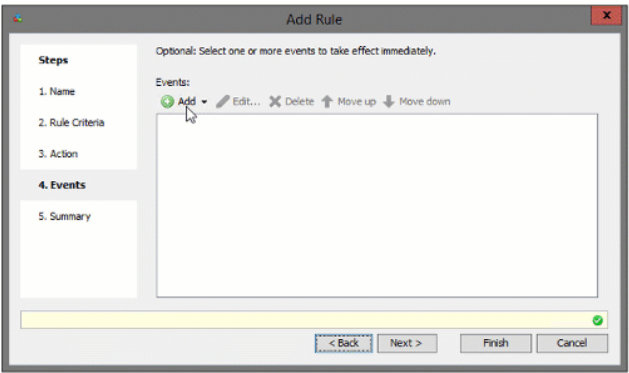
Building the Rule
For this example, we're going to send an email whenever a user experiences an ICAP error, so we'll be working in the Error Handler rather than the Rulesets (building the rule is all the same).
Create the email subject
To create the subject line, we'll create a user-defined string property called "UserDefined.Email.Subject" (see .gif below). Using the user-defined property makes it easier to build the email event. Once the User-Defined.Email.Subject property is created, we can build the subject line.
In the second screenshot below, the subject line is a mix of fixed strings and variables which translates to: SWG: ICAP Error {{Error.ID}} from {{System.Hostname}}
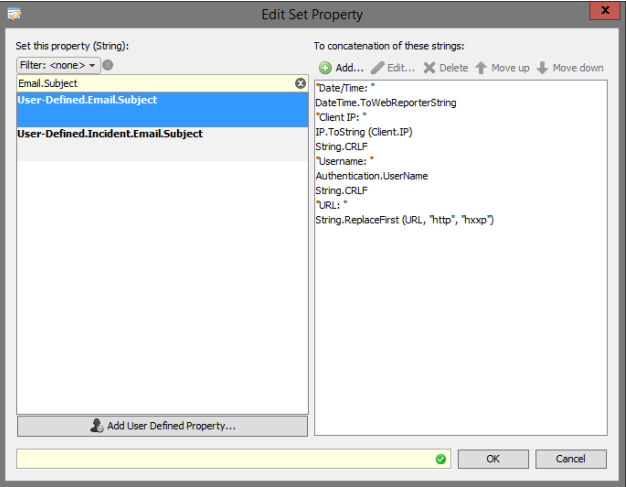
Create the email body
To create the email body, we will again create a user-defined string property, in this case it's called "User-Defined.Email.Body" (repeat steps from above).
The .gif below demonstrates how to add line breaks (String.CRLF), fixed strings ("URL: "), and variables (URL) -- with the end result being a nicely formatted email. The below email would generate the following:
- Date/Time: {{DateTime}}
- Client IP: {{Client.IP}}
- Username: {{Username}}
- URL: {{URL}}
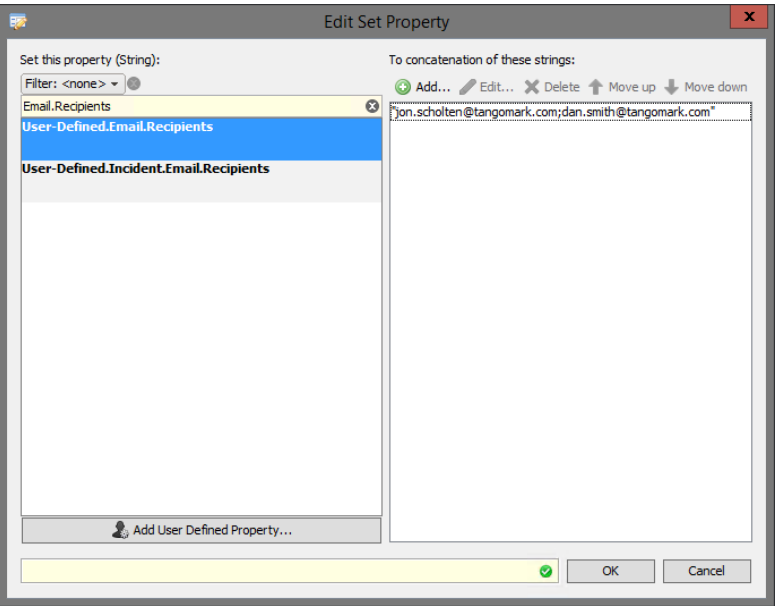
Set the Recipients
For the email recipients we again will use a user-defined property (UserDefined.Email.Recipients). We can set the property based on a fixed string, or even based on a list of strings. To base it on a list of strings, we need to convert the list of strings to a string, and set a semi-colon delimiter.
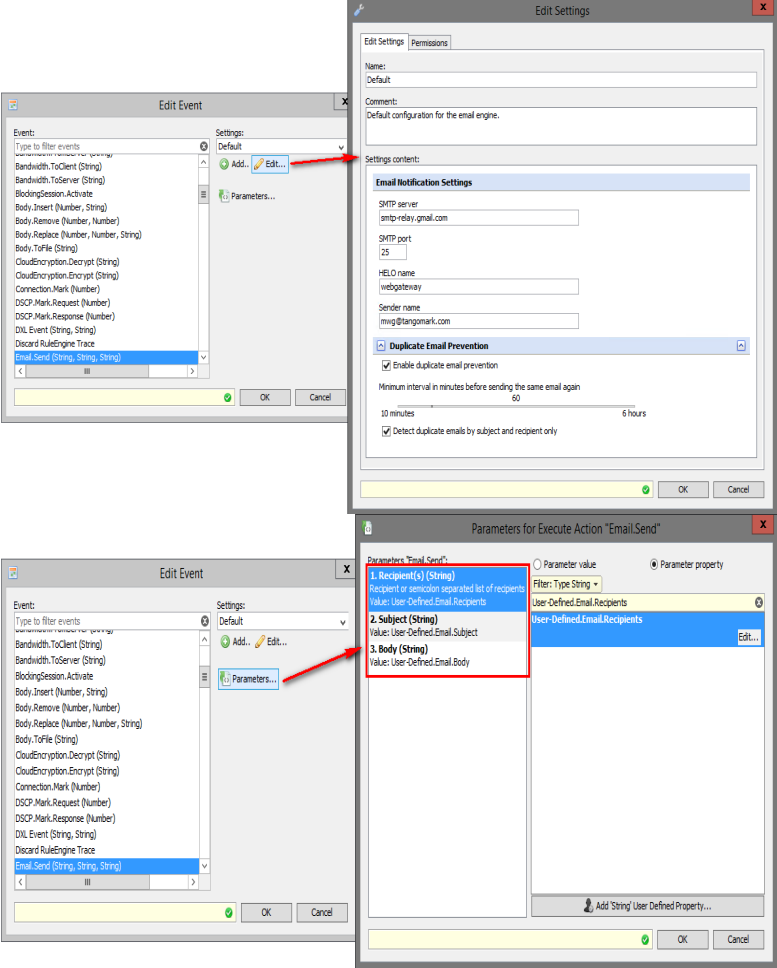
Configure the Email.Send Event
Now that we've defined the subject, body, and recipients, we need to configure the Email.Send event which will actually take care of sending the email. First we'll configure the Email Settings; here we configure the email server, HELO name, sender name, and duplicate email prevention. Duplicate email prevention is useful in case you are worried about getting flooded with emails.
Next, we'll set the event's recipients, subject, and body by configuring the event parameters.
Example Ruleset
The example ruleset can be imported, however, sending emails is not limited to this one use case, so please apply it where it's needed!